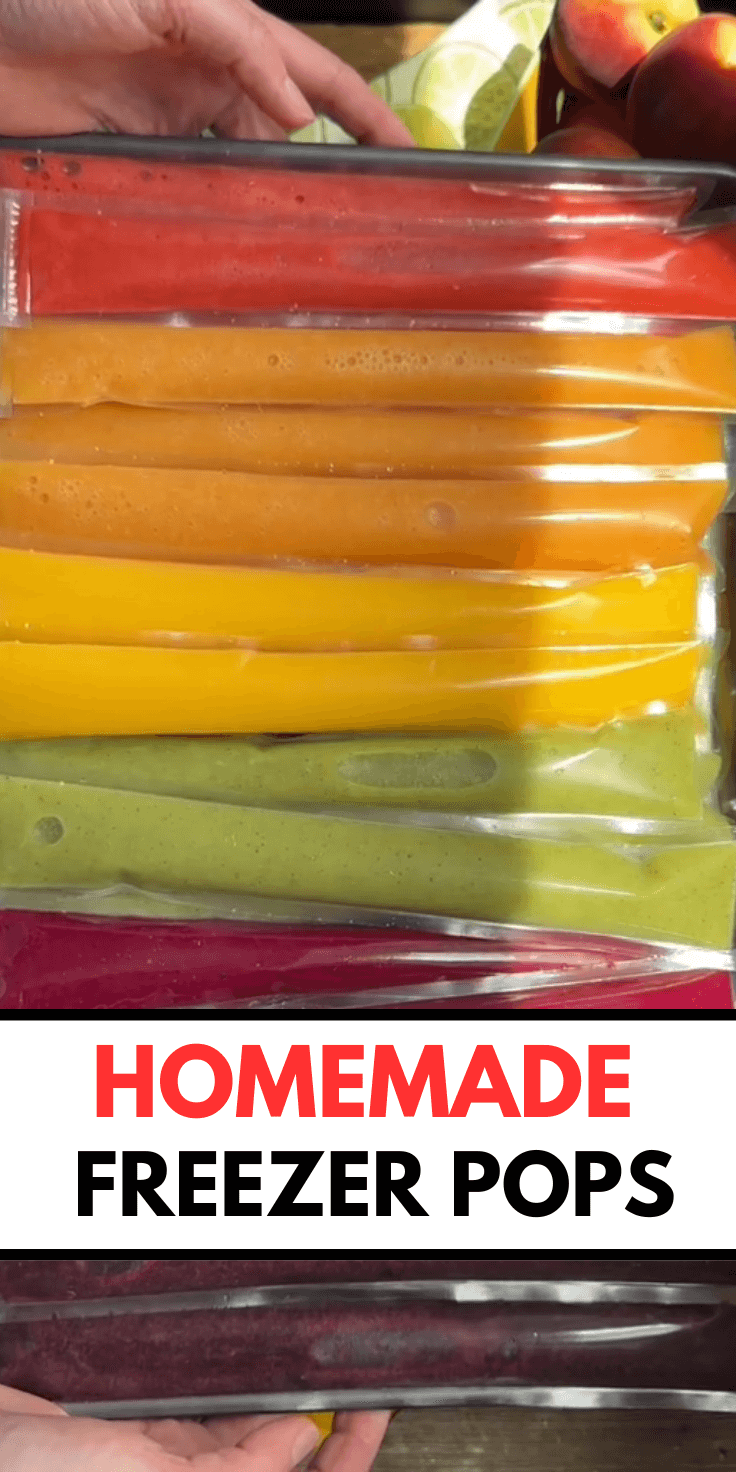
There’s something truly delightful about the vibrant, fruity burst of a freezer pop—a treat that instantly takes us back to carefree summer days of our childhood.
Freezer pops, also known as otter pops or flavor ice, are a nostalgic favorite that many of us remember fondly.
But did you know that making these pops at home is incredibly simple and allows you to avoid artificial colors and excessive sugars?
Imagine enjoying a refreshing treat on a hot day, made with real fruit and just a touch of honey. We’ve crafted six exciting flavors that will keep your taste buds dancing.
From strawberry lemonade to blueberry lemon, the possibilities are endless, and the process is as easy as blending and freezing.
Let’s dive into how you can create these delightful treats in your own kitchen.
Ingredients
- 2 cups of frozen fruit (choose your favorite or mix and match)
- 2 tbsp honey (or another sweetener of your choice)
- 2 tbsp lemon or lime juice (depending on the fruit used)
- 1/2 cup water
Steps
Step 1
Start by choosing your fruit. For this recipe, you’ll need 2 cups of frozen fruit.
You can use any fruit you like—berries, peaches, mangoes, or even a blend of your favorites.
The fruit should be frozen to ensure a smooth and icy texture.
Step 2
Blend the ingredients.
In a blender, combine the frozen fruit, 2 tbsp of honey (or your preferred sweetener), 2 tbsp of lemon or lime juice (adjust based on the fruit you are using), and 1/2 cup of water.
Blend until smooth.
The water helps achieve the right consistency, so adjust if necessary to suit your preference.
Step 3
Prepare your freezer pop bags.
If you’re using disposable plastic freezer pop bags, make sure they are clean and ready.
You can also opt for reusable silicone bags if you prefer an eco-friendly option.
Step 4
Pour the mixture into the freezer pop bags using a funnel.
This will help avoid spills and make the process easier. Seal each bag tightly to prevent leaks.
Step 5
Freeze the pops. Place the filled bags in the freezer and let them freeze for about 8 hours or overnight.
This ensures they are fully frozen and ready to enjoy.
Tips and Tricks
Creating your own freezer pops allows you to experiment with different flavors and combinations.
For instance, you might try a mango lime flavor for a tropical twist or kiwi pineapple mint for a refreshing, exotic option.
The key to a successful freezer pop is balancing the sweetness with the tartness of the fruit and ensuring the mixture is smooth before freezing.
If you’re feeling adventurous, you can also mix different fruit flavors together to create your own unique combinations.
For example, blend strawberries and lemons for a classic strawberry lemonade or combine raspberries and pitaya for a vibrant raspberry pitaya pop.
Supplies
For the best results, we recommend using disposable plastic freezer pop bags, but if you’re looking for a more sustainable option, reusable silicone freezer pop molds are a great choice. These molds can be washed and reused, making them an eco-friendly alternative to disposable bags.
By making these homemade freezer pops, you not only enjoy a delicious treat but also have the satisfaction of knowing exactly what’s in it. No artificial flavors, no excess sugars—just pure, fruity goodness.
Click the link in our bio to find the freezer pop bags we used in our video! Whether you’re cooling off on a hot day or looking for a fun activity to do with the family, homemade freezer pops are a perfect choice.
So, grab your blender and get ready to enjoy a summer treat that’s better than store-bought! 🌈🍧