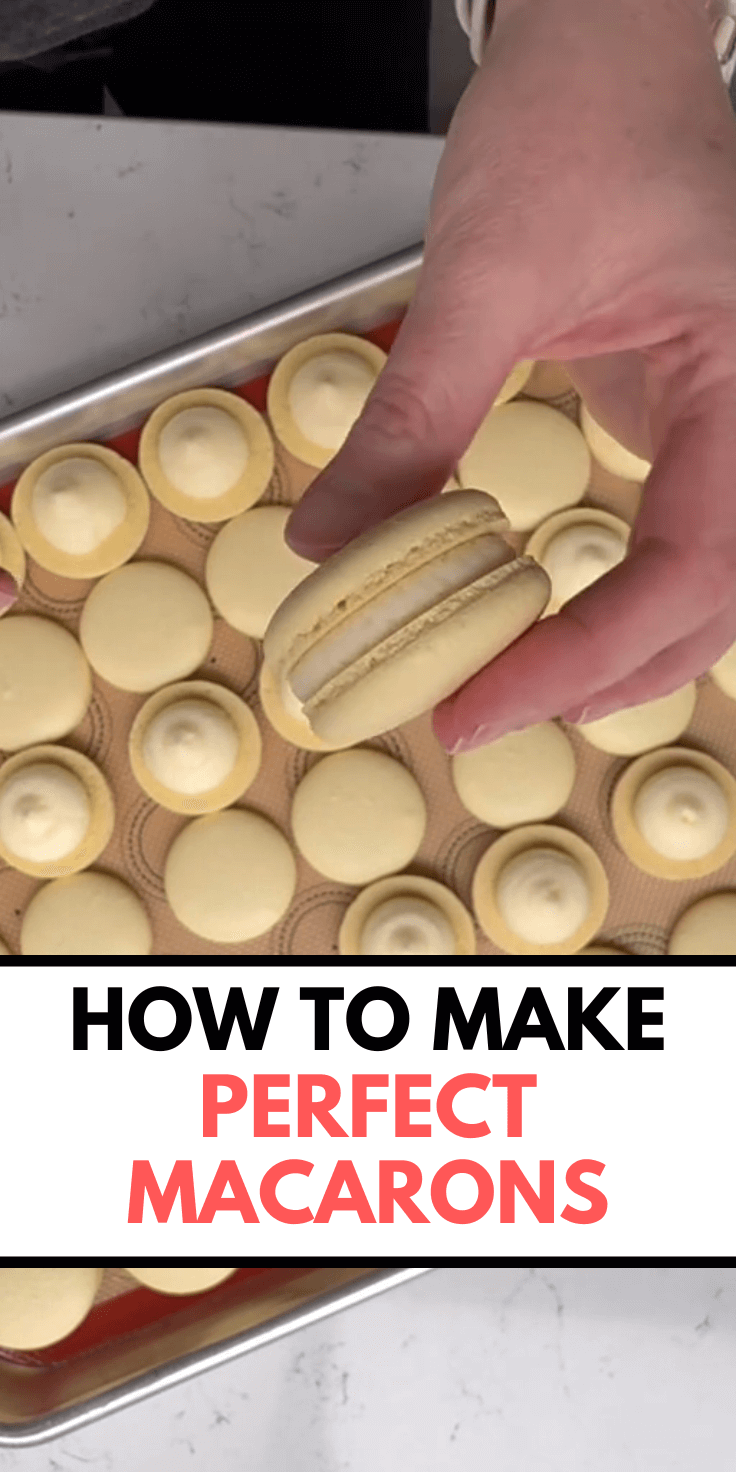
Making macarons can seem intimidating, but with the right guidance and practice, you can master these delicate French treats.
Here, I’ll share with you the tips and tricks I’ve learned through a lot of trial and error.
Follow this step-by-step guide and you’ll be making beautiful, delicious macarons in no time.
Ingredients
- Egg whites: 3-4 egg whites (120-140g)
- Granulated sugar: Equal to the weight of the egg whites
- Almond flour: Egg white weight multiplied by 1.2
- Powdered sugar: Egg white weight multiplied by 1.2
- Egg white powder (optional): Helps stabilize the meringue
- Gel food coloring: For adding color to your macarons
Equipment
- Mixing bowl
- Whisk (preferably electric or stand mixer)
- Silicone mat or parchment paper
- Spatula
- Piping bag fitted with a #12 piping tip
- Baking tray (preferably with no sides or flipped upside down)
- Toothpick
- Kitchen scale
- White vinegar: For cleaning equipment
Preparation
- Clean Your Equipment: Wipe down your mixing bowl, whisk, silicone mat, spatula, and piping tip with white vinegar. This removes any oils or residue that can ruin your meringue.
- Weigh Ingredients: Use a kitchen scale to accurately weigh all your ingredients. Precision is key in macaron making.
- Separate Eggs: Separate your eggs and let the egg whites sit at room temperature for 15 minutes. This helps them whip up better.
Making the Meringue
- Prepare Sugar Mixture: Weigh the granulated sugar. If using egg white powder, combine it with the sugar.
- Whisk Egg Whites: Start whisking the egg whites on low speed until frothy bubbles form. This should take a couple of minutes.
- Add Sugar Gradually: Add in half of the sugar and egg white powder mixture. Mix on low speed for a few minutes until the sugar is somewhat dissolved. Add in the rest of the sugar.
- Whip to Stiff Peaks: Increase the mixer speed to 4 for about 10 minutes, then to 6 for another 3 minutes. Check for stiff peaks by removing the whisk and swirling it around the bowl. The peaks should stand up straight without falling over.
- Add Gel Color: Add your desired gel color and mix to combine. Be careful not to over mix.
Combining Ingredients
- Sift Dry Ingredients: Sift the almond flour and powdered sugar together. Combine them with a whisk.
- Fold Dry Ingredients into Meringue: Pour half of the almond flour and powdered sugar mixture into the meringue. Gently combine until the dry ingredients are incorporated. Add the remaining dry ingredients and continue to fold in.
- Macaronage: Use your spatula to press the batter against the side of the bowl. This process is known as macaronage. Continue until the batter flows off the spatula like a ribbon.
Piping and Baking
- Prepare Piping Bag: Pour the batter into a piping bag fitted with a #12 piping tip.
- Pipe Macarons: Pipe the batter onto a baking tray lined with a silicone mat or parchment paper. If your tray has sides, flip it upside down to allow for better airflow.
- Remove Air Bubbles: Tap the bottom of the tray to pop air bubbles. Use a toothpick to pop any bubbles on the surface.
- Rest: Leave the tray to rest at room temperature for 15 minutes. This helps form a skin on the macarons, which is essential for getting that classic macaron “foot.”
- Bake: Preheat your oven to 300°F (150°C) and bake for 18-20 minutes. Rotate the tray halfway through baking to ensure even cooking.
Finishing Touches
- Cool Completely: Allow the macarons to cool completely before removing them from the mat. They should come off easily when properly baked.
- Fill Macarons: Pipe your desired filling onto half of the macarons. I recommend using a Wilton 1A or 4B tip for this.
- Sandwich and Mature: Sandwich the macarons with the remaining halves and place them in the fridge to mature for 24-48 hours. This allows the flavors to meld and the texture to improve.
Enjoy!
- Serve and Enjoy: After maturing, your macarons are ready to be enjoyed! Serve them at room temperature for the best texture and flavor.
By following these steps and paying attention to the details, you’ll be able to create stunning macarons that are sure to impress.
Happy baking! Credit: @Bethany
