When you insert an image into a document, it is aligned to the left side of the page by default.
Adjusting the location of an image in Google Docs can be tricky.
And it can be frustrating if you want to move the image to the center or maybe to the center of the page so that you can use it as your title page.
This article will guide you through each step so you can easily center an image in Google Docs.
Also read:
How to Add Fonts to Google Docs
How to Make Bullet Points Smaller in Google Docs
How to Copy Text From a Picture
How to Remove Shading in Google Docs
Choose your output
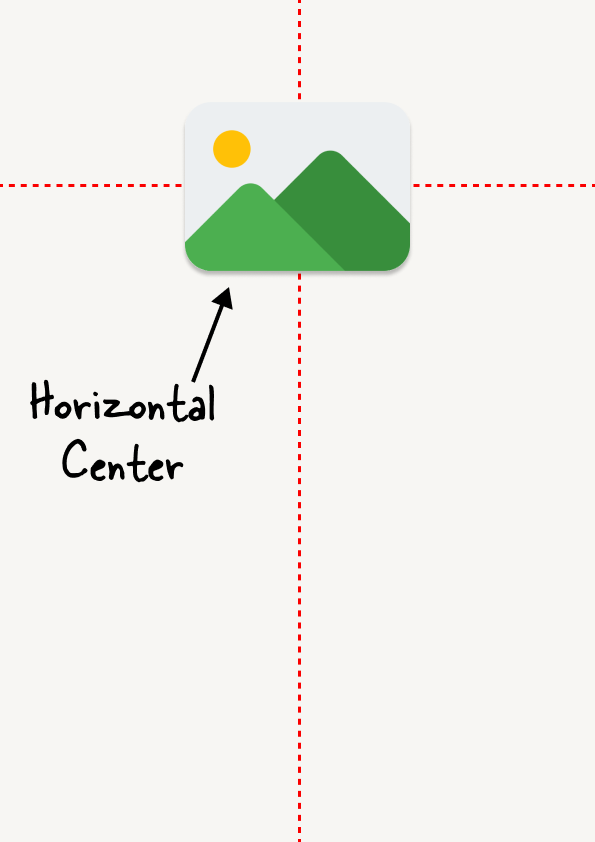
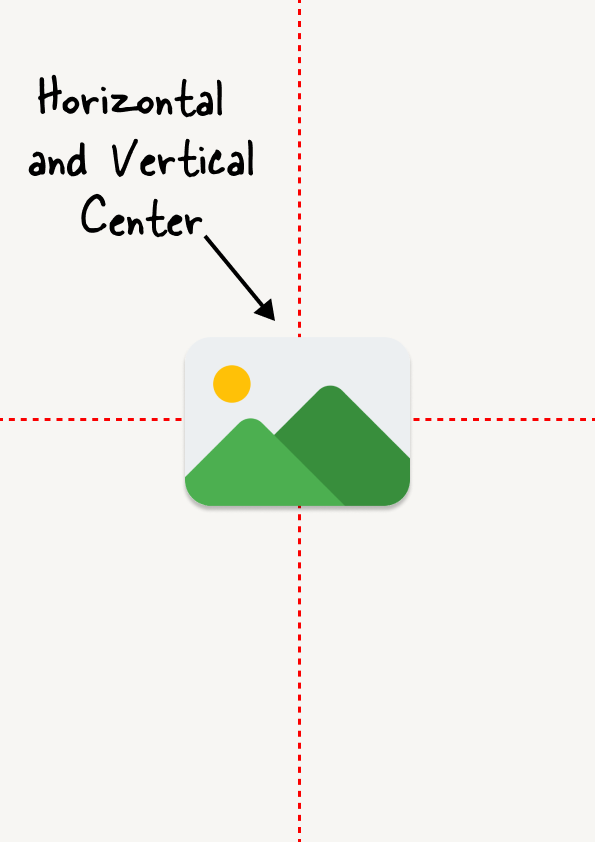
If you want to center an image horizontally, follow these steps; if you want to center the image vertically and horizontally, jump to these steps.
How to Center an Image in Google Docs?
Step 1: Click on the image and select “Behind text”
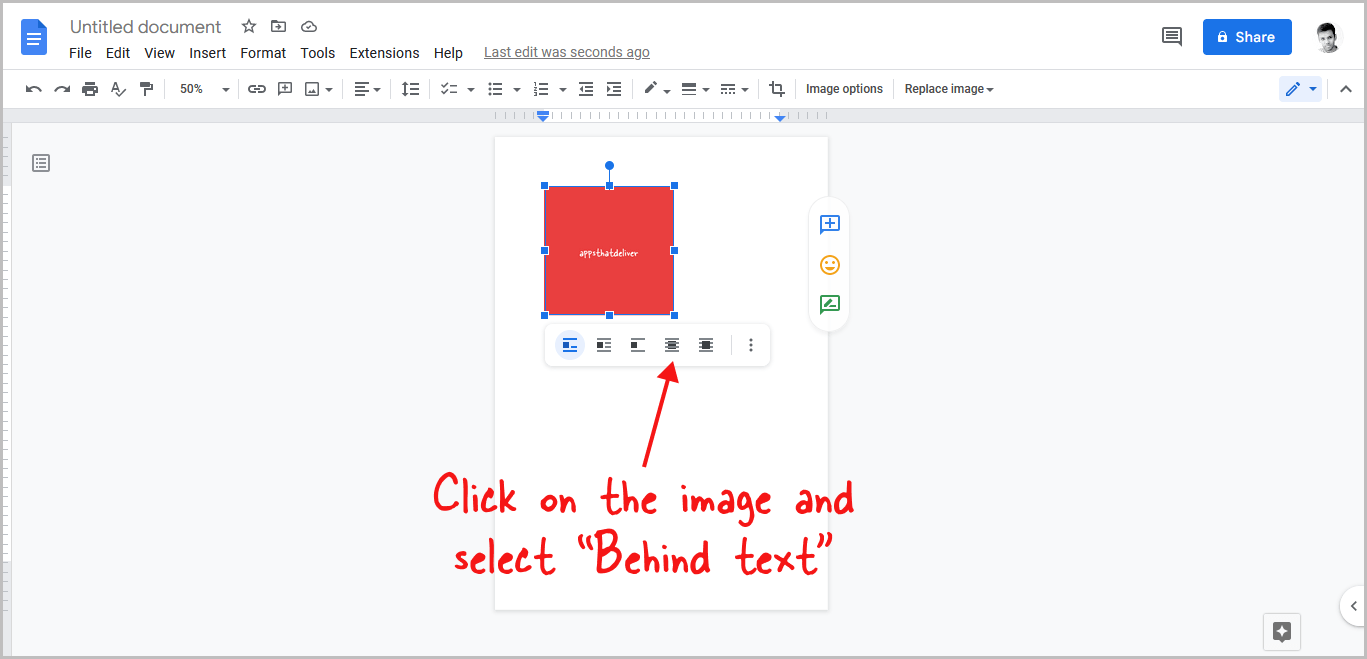
The first step is to drag and drop the image into the document.
Once you add the image to your document, click on it to select it.
After you select the image, you’ll see a small menu below the image. From the menu, select the “Behind text” option.
This step is necessary to activate the “Position” feature the Google Docs.
Step 2: Click on the three dots and select “All image options”
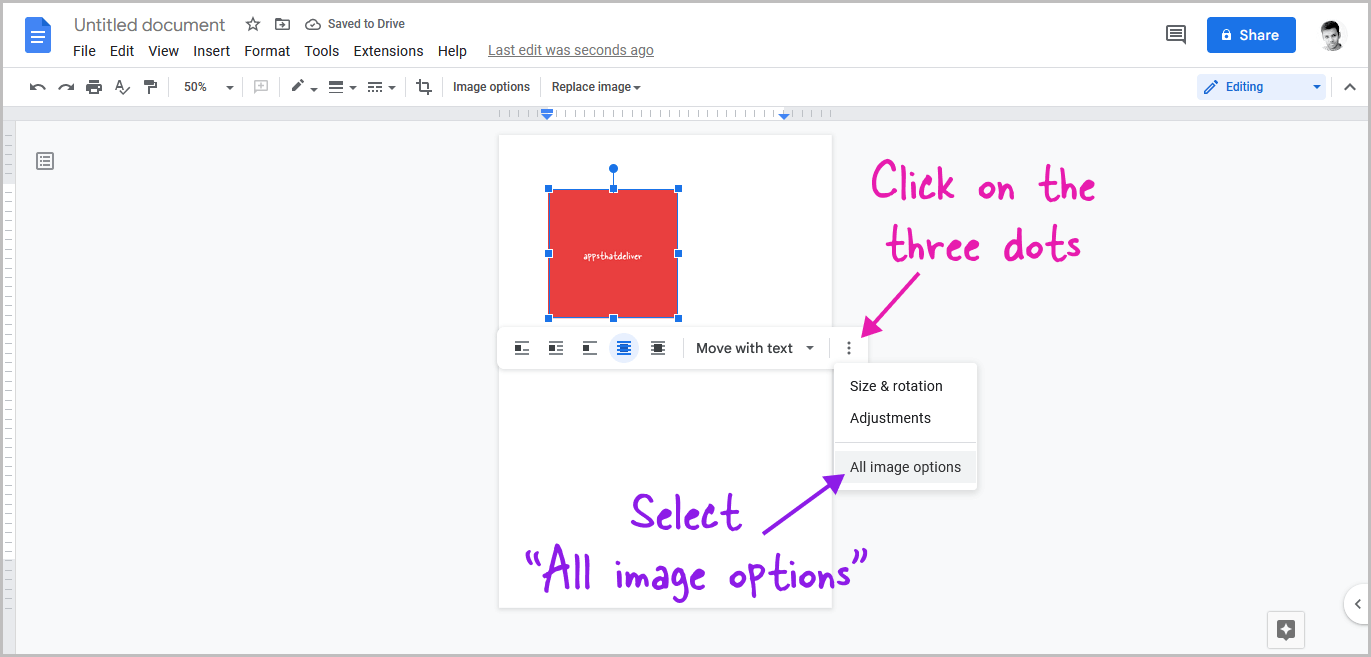
Now, click on the three dots from the image menu and then select “All image options” from the drop-down menu.
Step 3: Select the “Position” setting
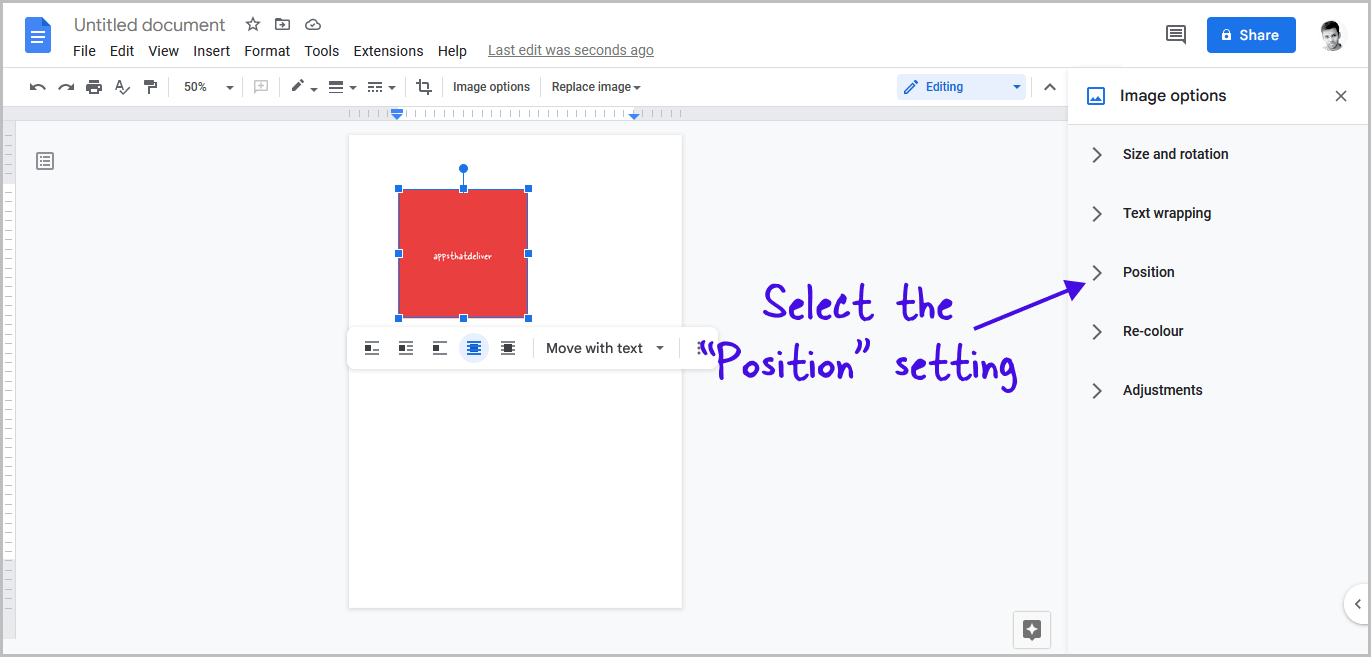
You’ll now see the “Image options” sidebar at the right.
Select the “Position” setting from the sidebar.
Step 4: Select the “Fix position on page” option
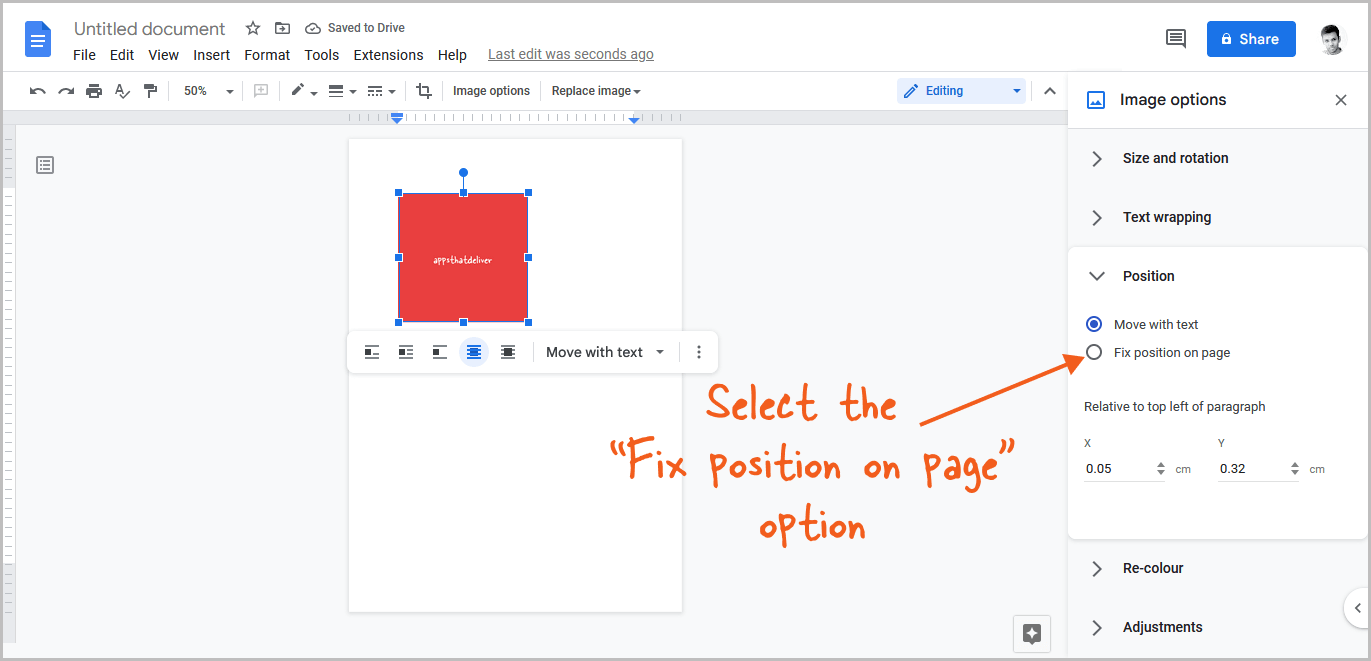
Now, click on the “Fix position on page” radio button.
Step 5: Under “Quick layouts”, select the “Center” option
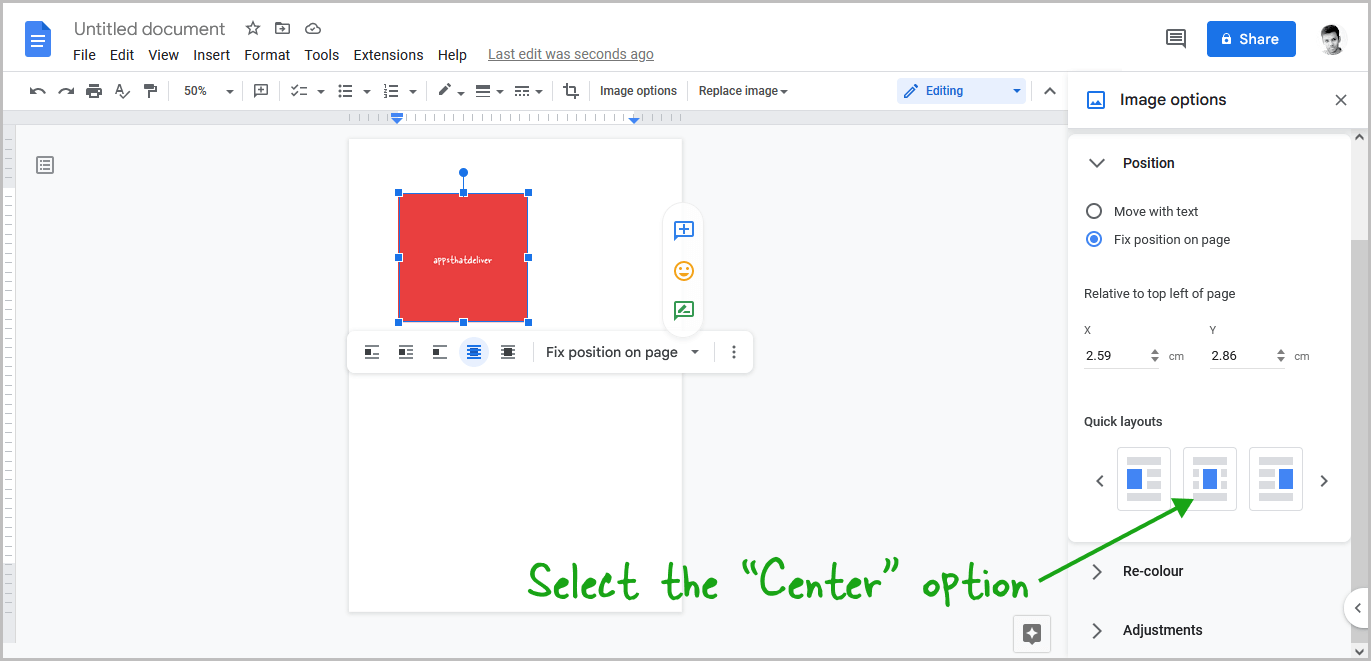
You’ll now see the Quick layouts panel on the sidebar.
Scroll through the layouts by clicking the right or left arrow icons.
Select the “Center” layout from the available layouts.
Center-Align an Image in Google Docs
Step 1: Select the image
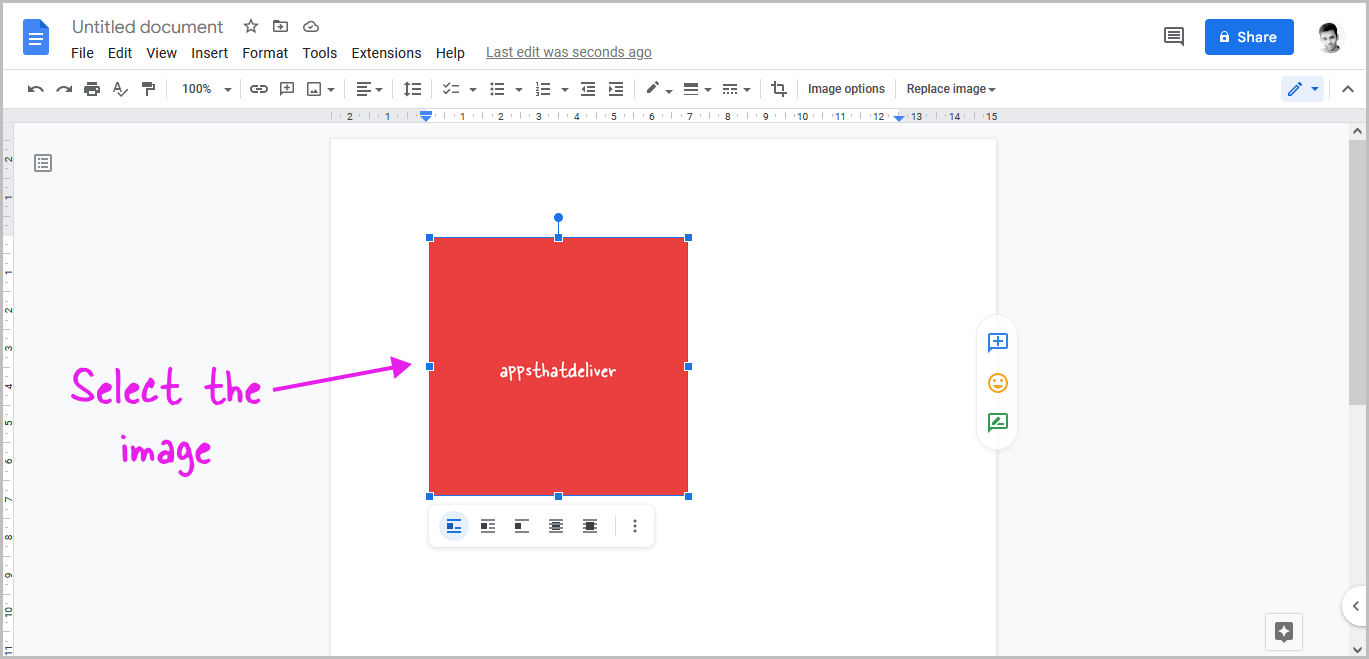
This method will align the image to the horizontal center of the page.
Firstly, add the image to the document.
Now, select the image by clicking on it.
Step 2: Click on the “Align” tool
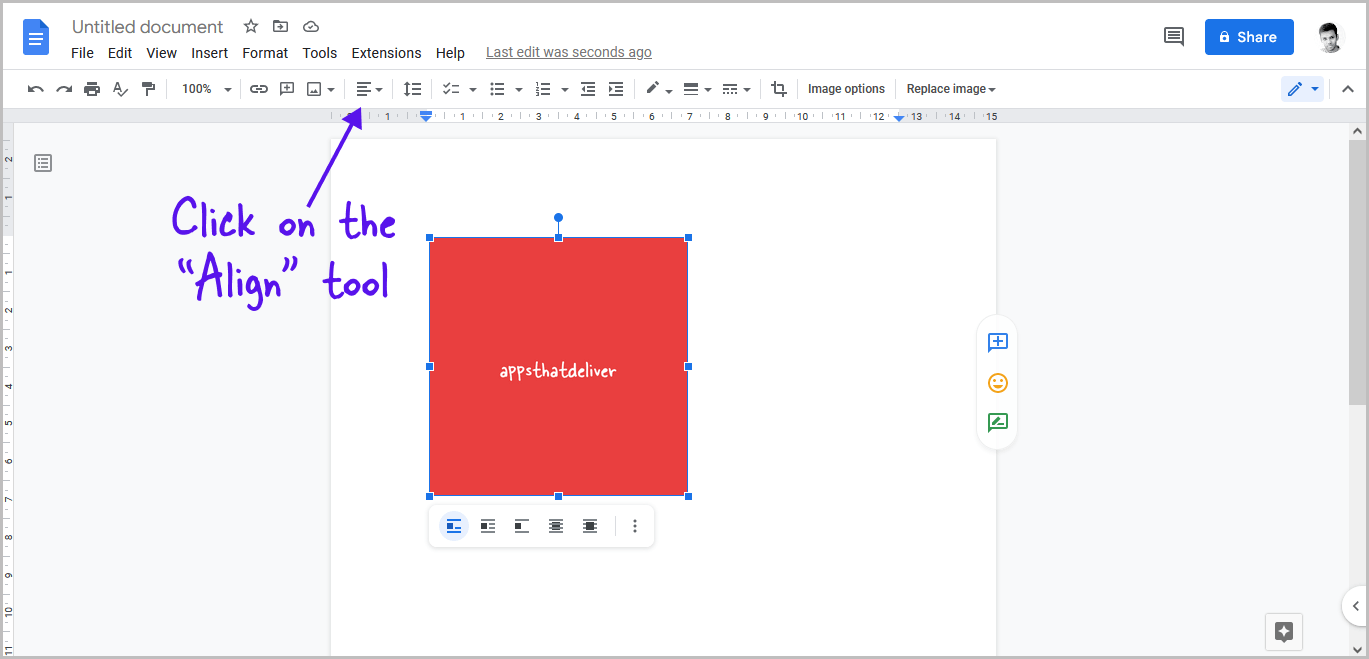
After selecting the image, click on the “Align” tool from the toolbar.
By default, the image is aligned to the left.
Step 3: Select “Center align”
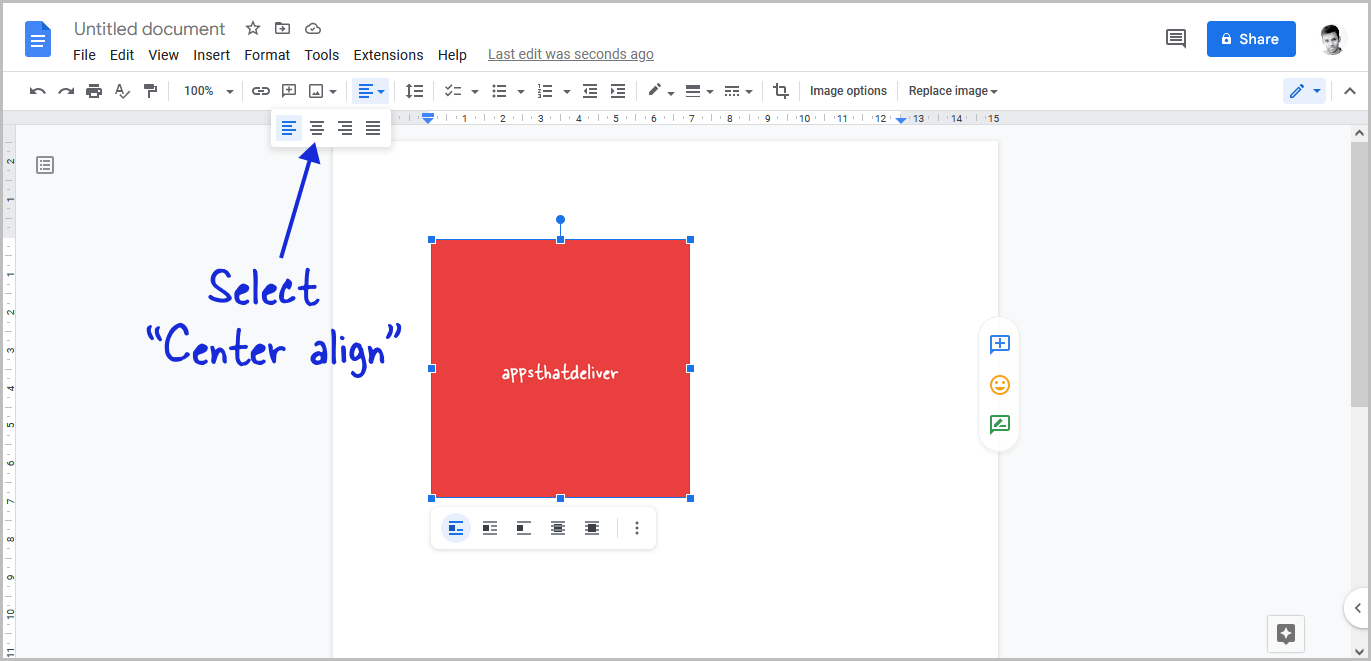
After you click on the “Align” tool, you’ll see a drop-down menu with four alignments; Left, Center, Right, and Justify.
Select the “Center align” option from the drop-down menu.
Alternatively, select the image and press “Ctrl+Shift+E” to center align the image.
FAQs
How do I center a picture on Google Docs?
Select the image and press Ctrl+Shift+E.
How do you center vertically and image in Google Docs?
Here’s how to center vertically and image in Google Docs:
- Select the image
- Click on the “Behind text” option
- Click on the three dots
- Select “All image options”
- Select the “Fix position on page” option
- Select the “Center” layout under “Quick layouts”
What is the shortcut for centering in Google Docs?
Ctrl+Shift+E
How do I center an image in position?
Select the image > Click “Behind the text” > Click on three dots > All image options > Fix position on page > Quick layouts > Center.

