Are you a fan of Taylor Swift’s album “Reputation”?
Have you ever wondered about the captivating font that accompanies its artwork?
Fortunately, the font is available for free on Google Docs.
In this article, we will mention the name of the font used on the album cover.
Also read: (opens in new tab)
Folklore Font Google Docs
Harry Potter Fonts on Google Docs
Fancy Fonts on Google Docs
Sad Fonts on Google Docs
Reputation Font Google Docs
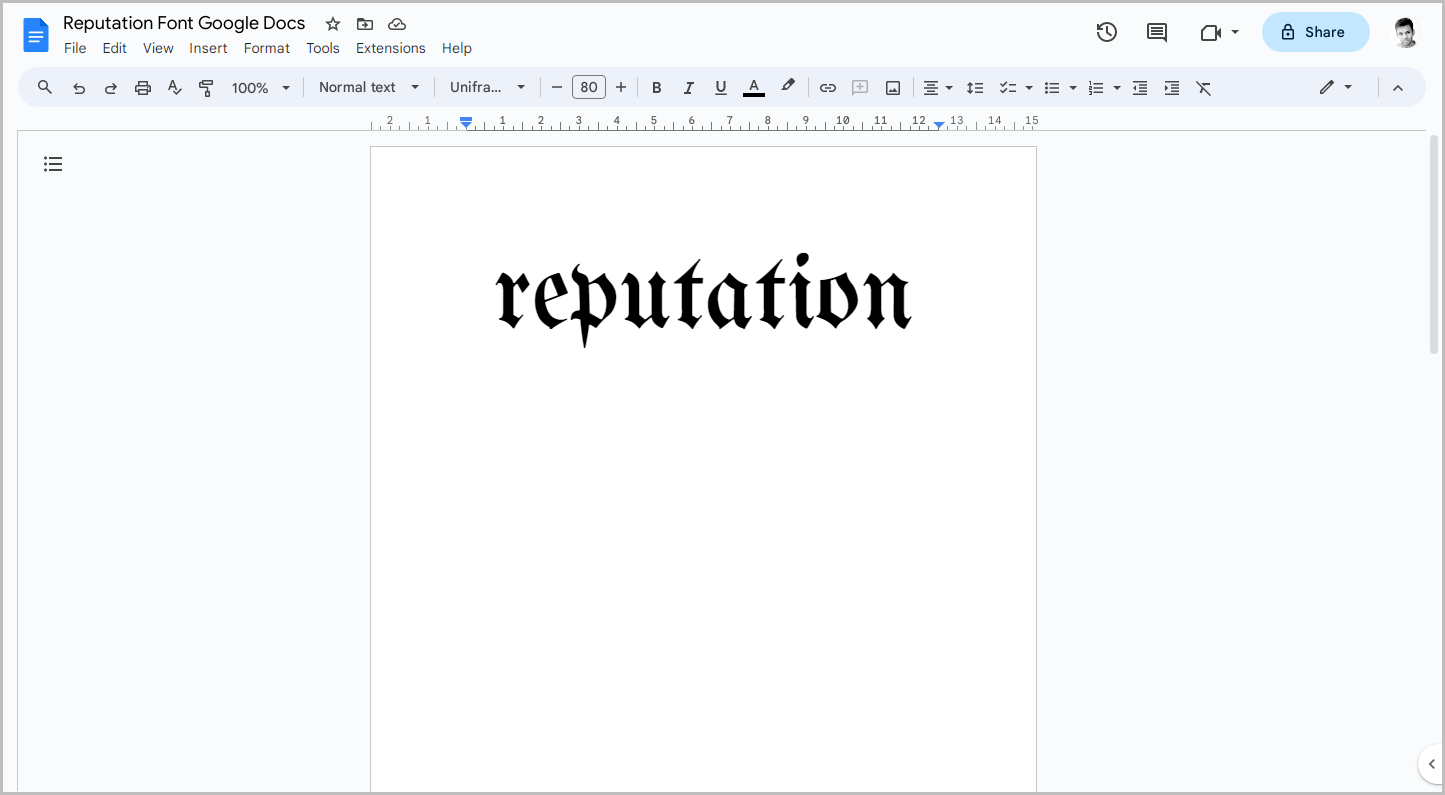
The font used on the cover of Taylor Swift’s album “Reputation” is called UnifrakturMaguntia. The font color is black, and all the letters are in lowercase.
Here’s how to use the font in Google Docs:
Step 1: Open your Google Docs document and type your desired text
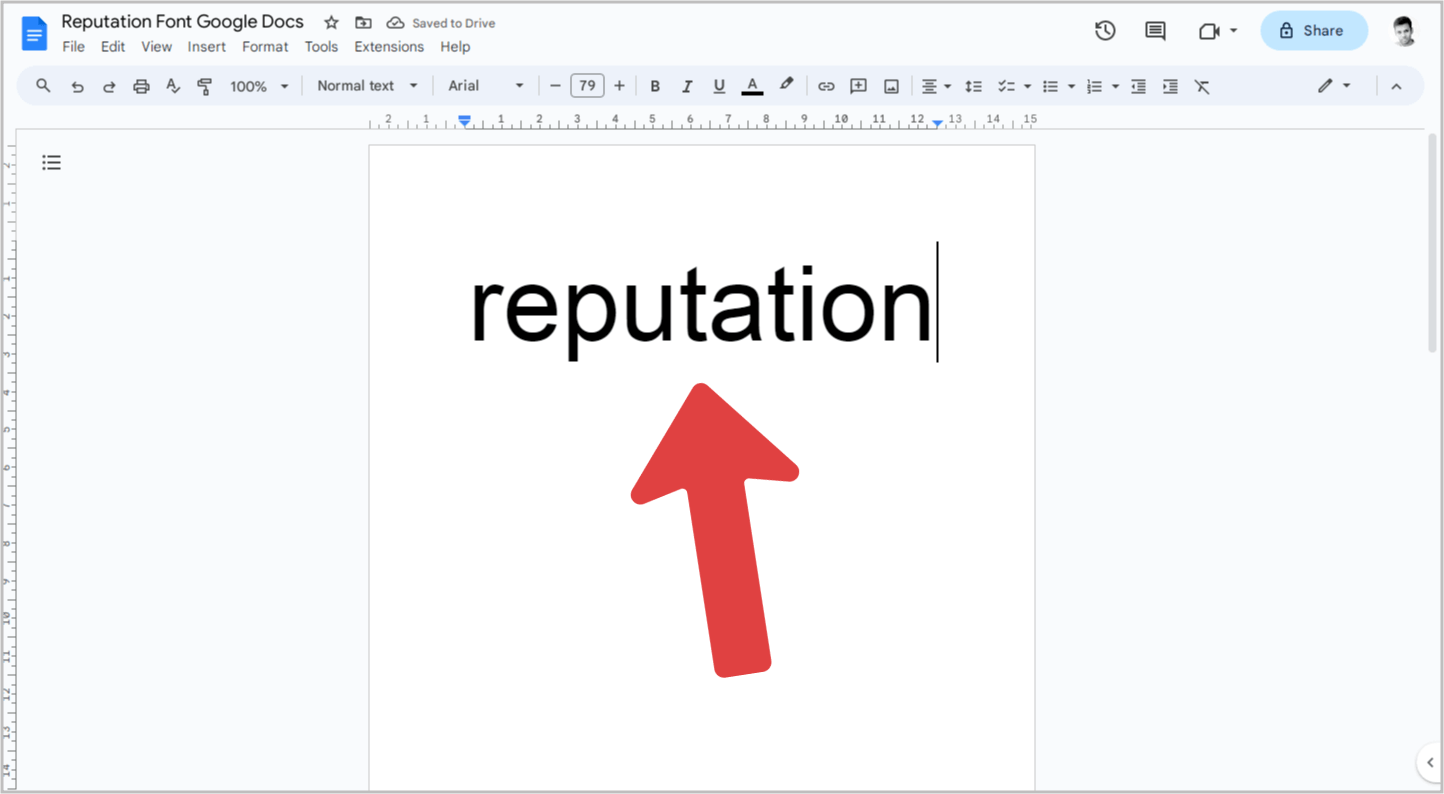
To begin, open your Google Docs document.
Once the document is open, type the text that you want to resemble the text from the Reputation album cover.
Make sure to type all the letters in lowercase, as the text on the album cover is in lowercase.
Now, move on to the next step.
Step 2: Select the text you want to change the font of
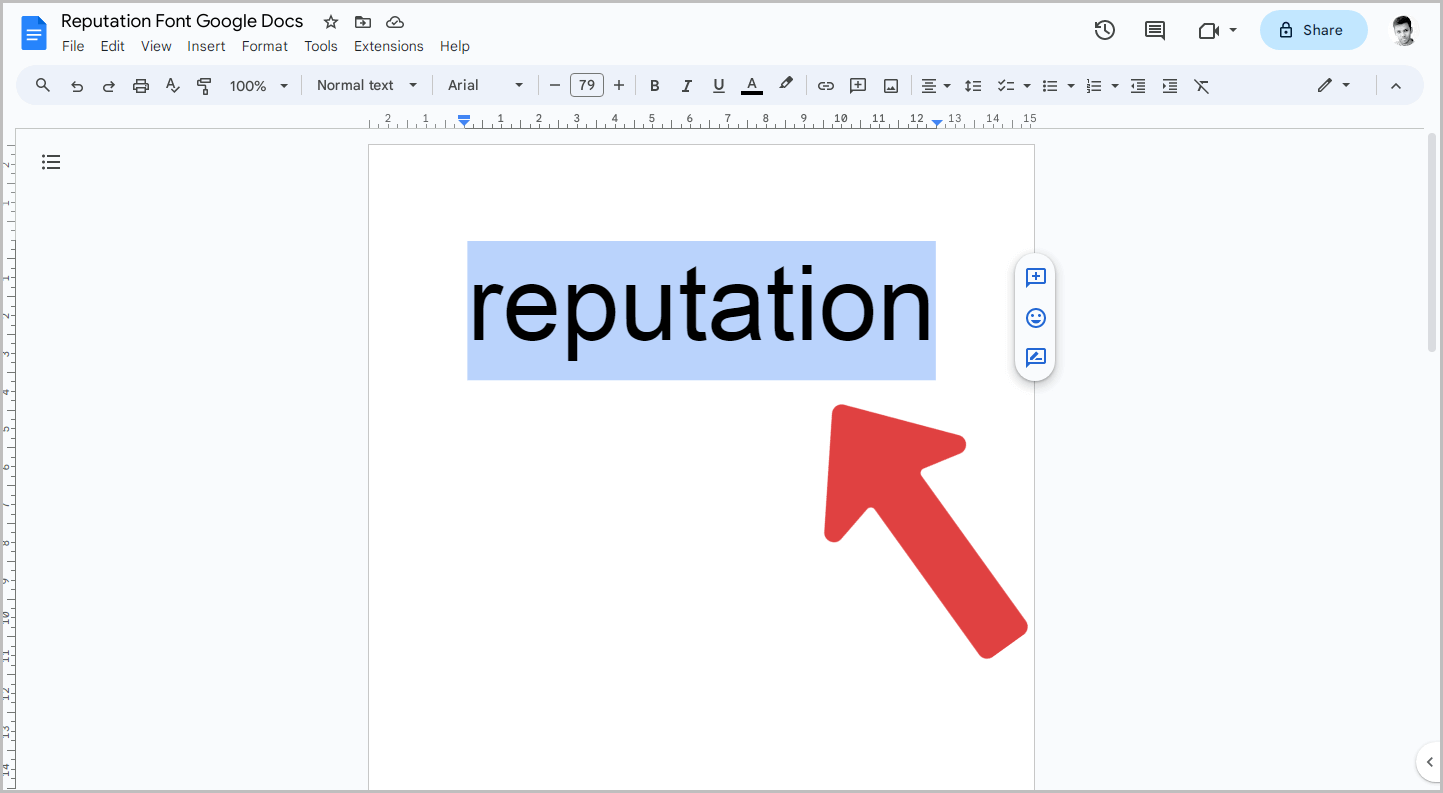
After typing the text, use the mouse to select the text.
Step 3: Click on the Font drop-down menu in the toolbar and select “More fonts”
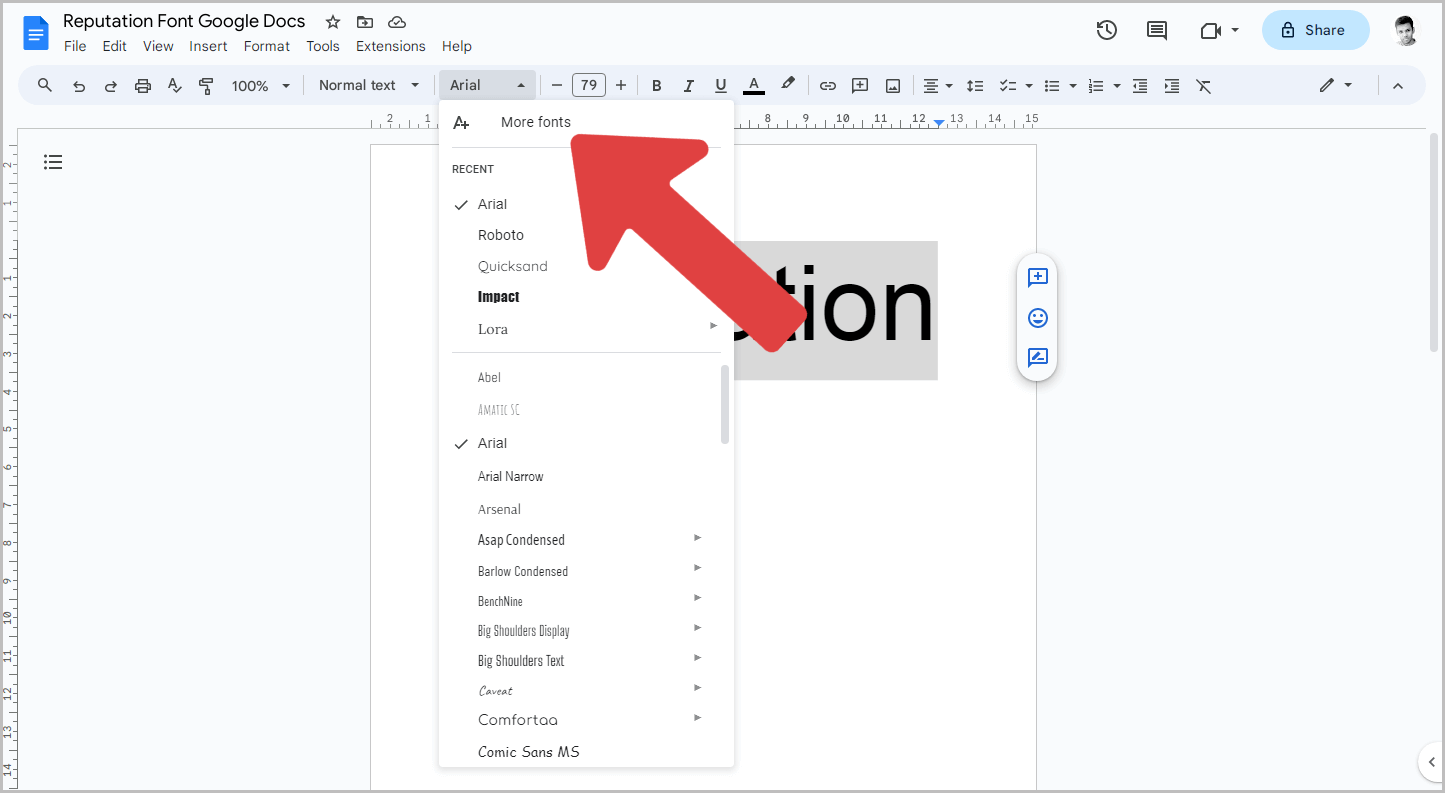
The UnifrakturMaguntia font is not directly visible in the “Fonts” menu.
Instead, you need to go to the “More fonts” menu and select the font from there.
To do this, click on the “Font” menu in the toolbar.
Then, choose “More fonts” from the menu to access the complete font library.
Step 4: In the search box, type “UnifrakturMaguntia”
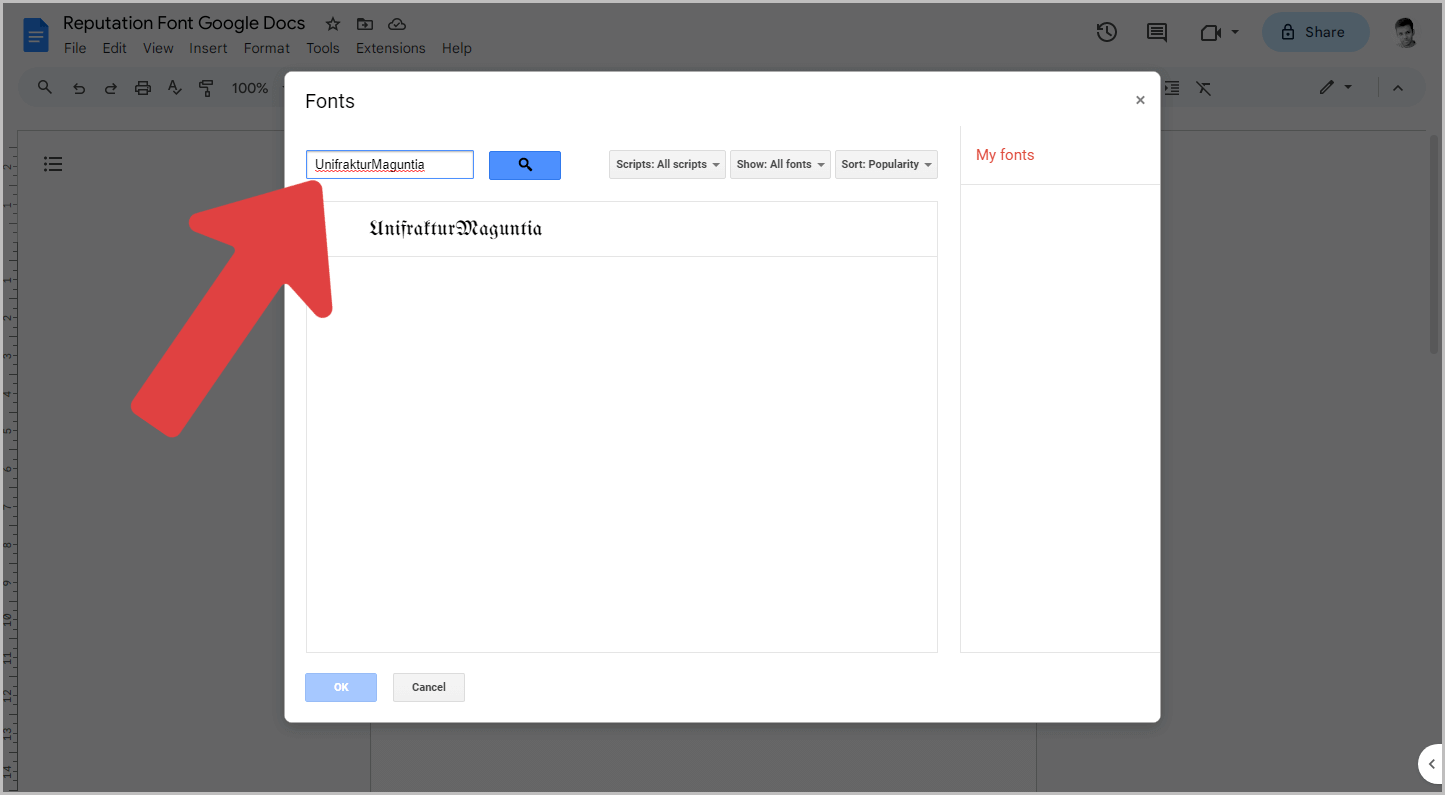
Now you will see the fonts library.
At the top, there is a search box where you can directly search for the font.
Click inside the search box and type the font name “UnifrakturMaguntia” without any spaces.
Simply copy the name and paste it into the search box, then proceed to the next step.
Step 5: Select the font from the search results and click “OK”
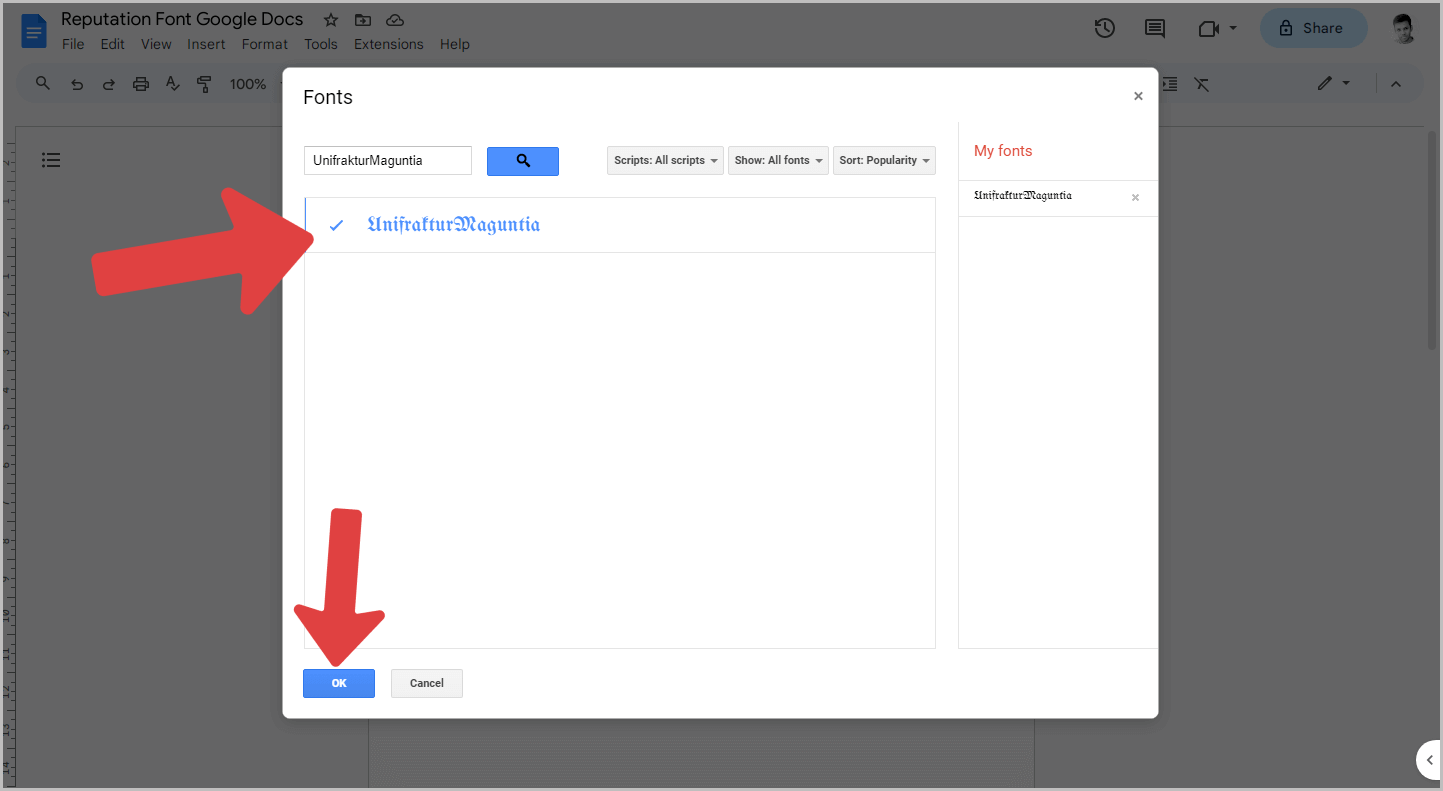
Now you will see the font in the search results.
Simply click on it to select it, and then click on the “OK” button to confirm the selection and close the library window.
The selected text will now have the “UnifrakturMaguntia” font.
If the font remains the same, click on the font menu and select the “UnifrakturMaguntia” font from the font list.
Sometimes, when you click on the “OK” button, the font does not change; instead, it gets added to the font menu.
In this case, reselect the text and then choose the font from the list.
Proceed to the next step to learn how to change the font color.
Step 6: Set the font color to “Black”
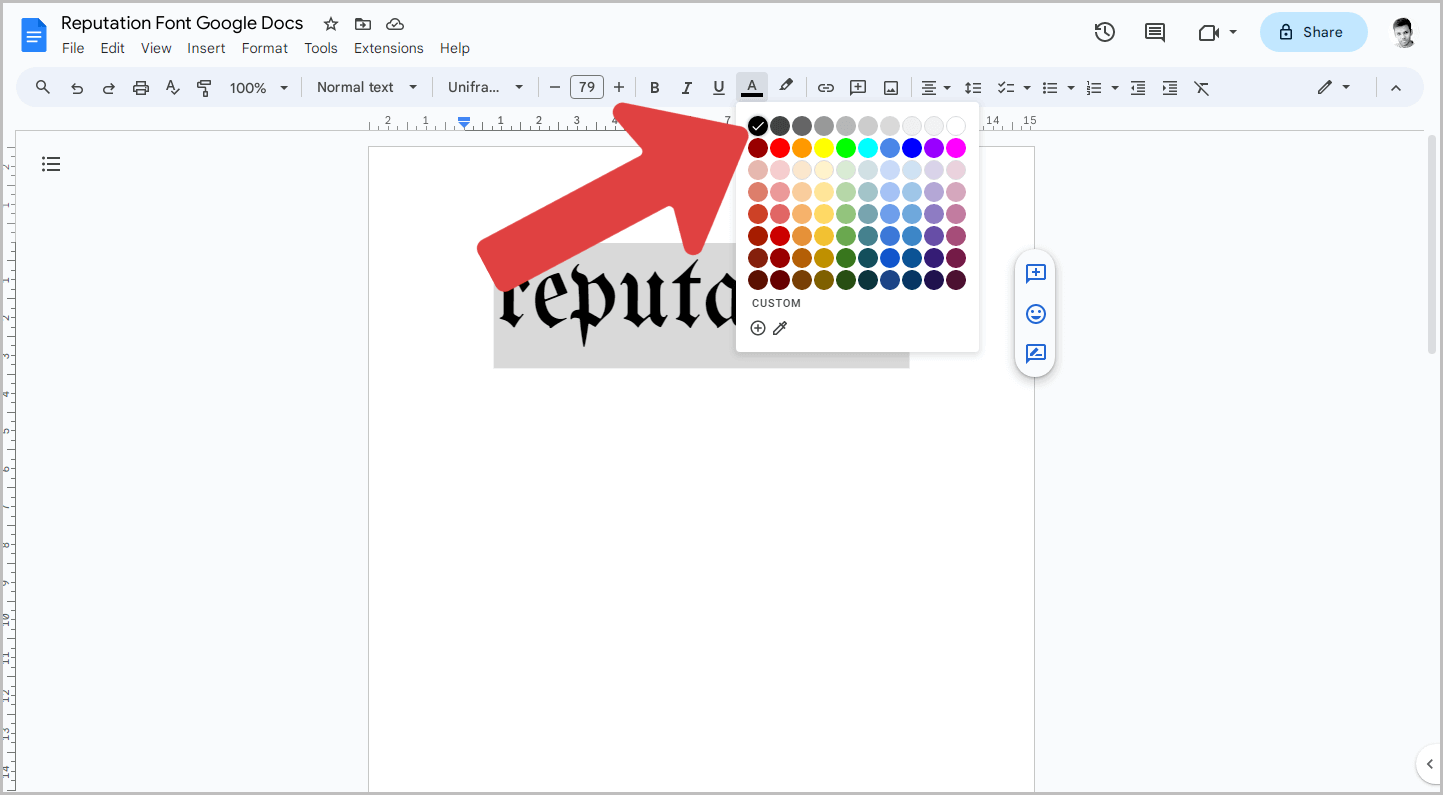
The text on the album cover is black, so change the text color in your document to black as well.
If desired, you can use a different shade of black or a different color.
To do this, select the text, click on the “Font color” menu, and then choose the “Black” color from the palette.
Alternatively, you can click on the text “CUSTOM” to enter a custom color code.
Step 7: Adjust the font size as needed
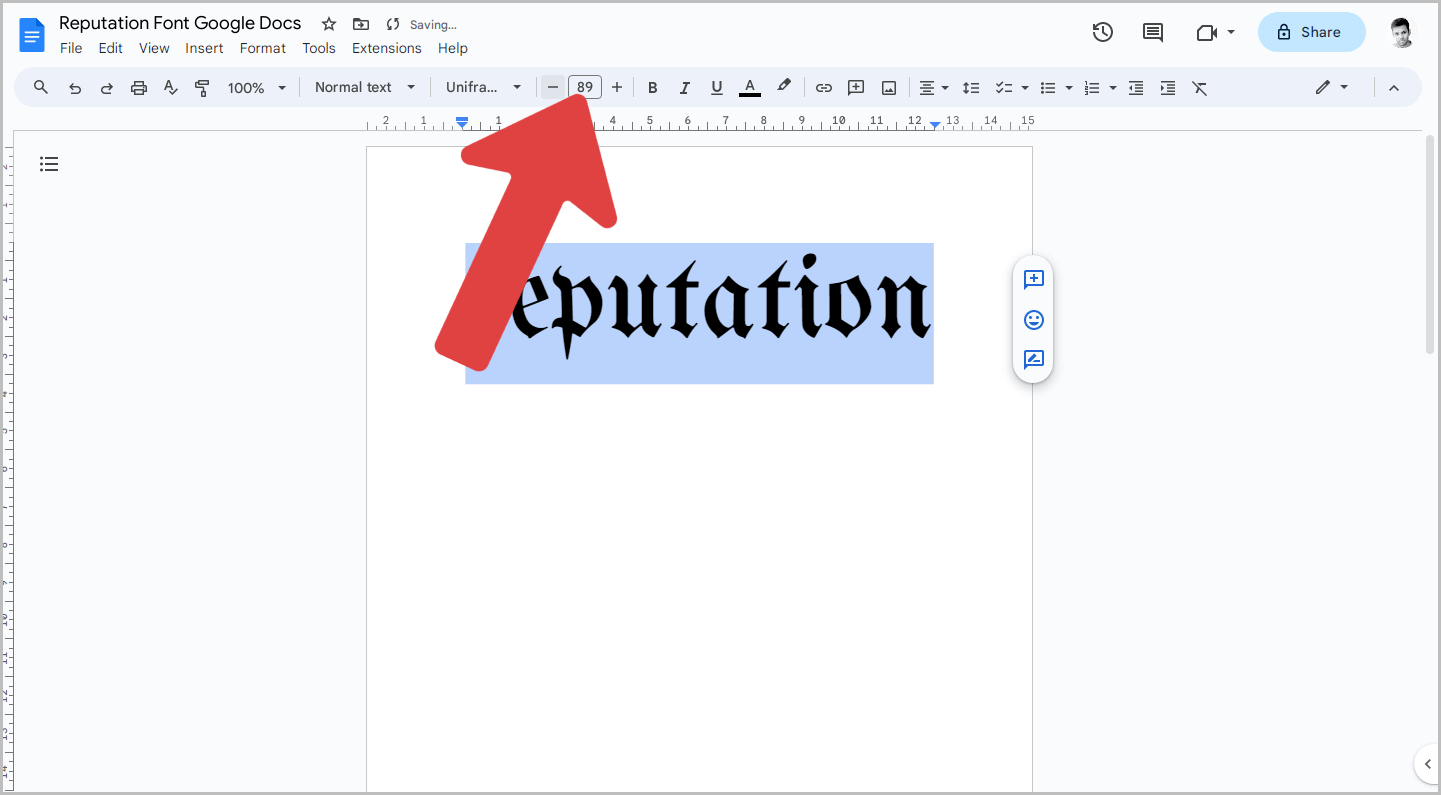
If needed, you can adjust the font size now.
To do this, select the text and click on the “+” sign next to the font size option on the toolbar.
Alternatively, you can directly enter the desired font size in the toolbar.

