In Google Docs, you can divide a page into multiple columns.
You can do this by going to Format > Columns and then selecting the number of columns.
However, when you divide the page into two columns and then try to go back to a single column, the “Columns” option is sometimes greyed out.
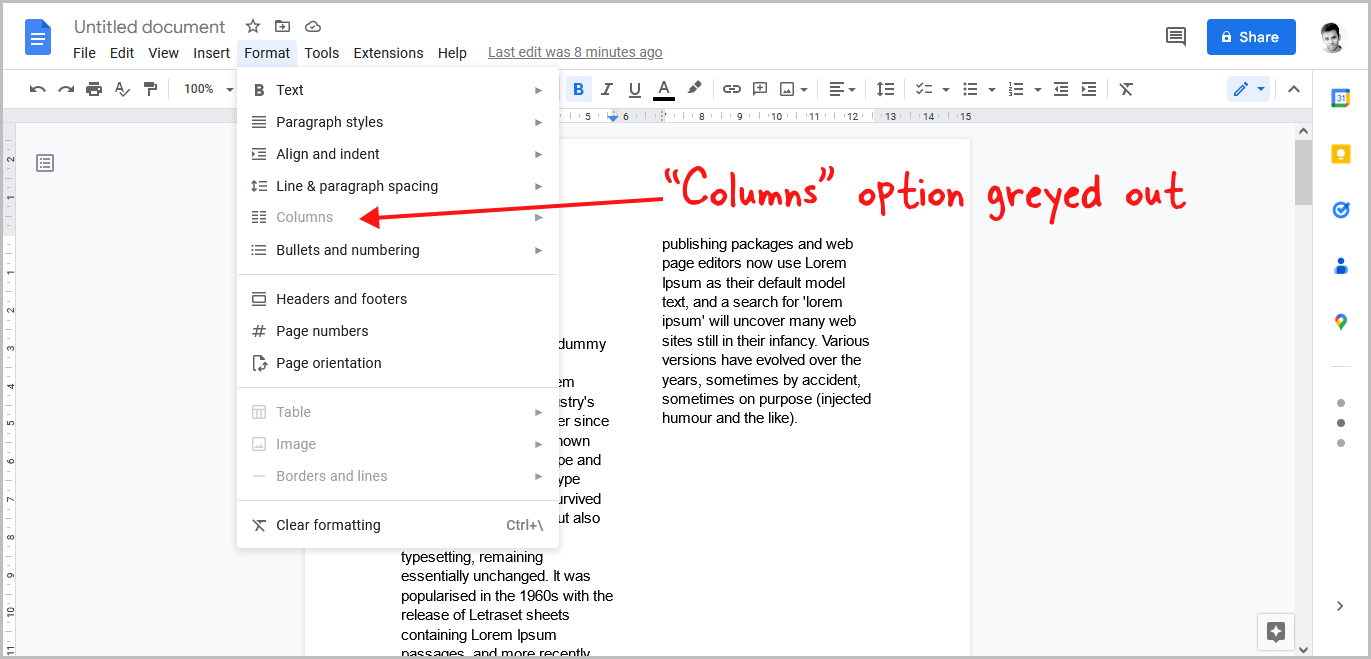
So how do you change columns if the “Columns” option is greyed out in Google Docs?
The solution is quite simple!
In this article, I’ll explain how to change the number of columns on a page if the “Columns” option is greyed out in Google Docs.
Google Docs Columns Greyed Out
Step 1: Press Ctrl+A to select all the contents of the document
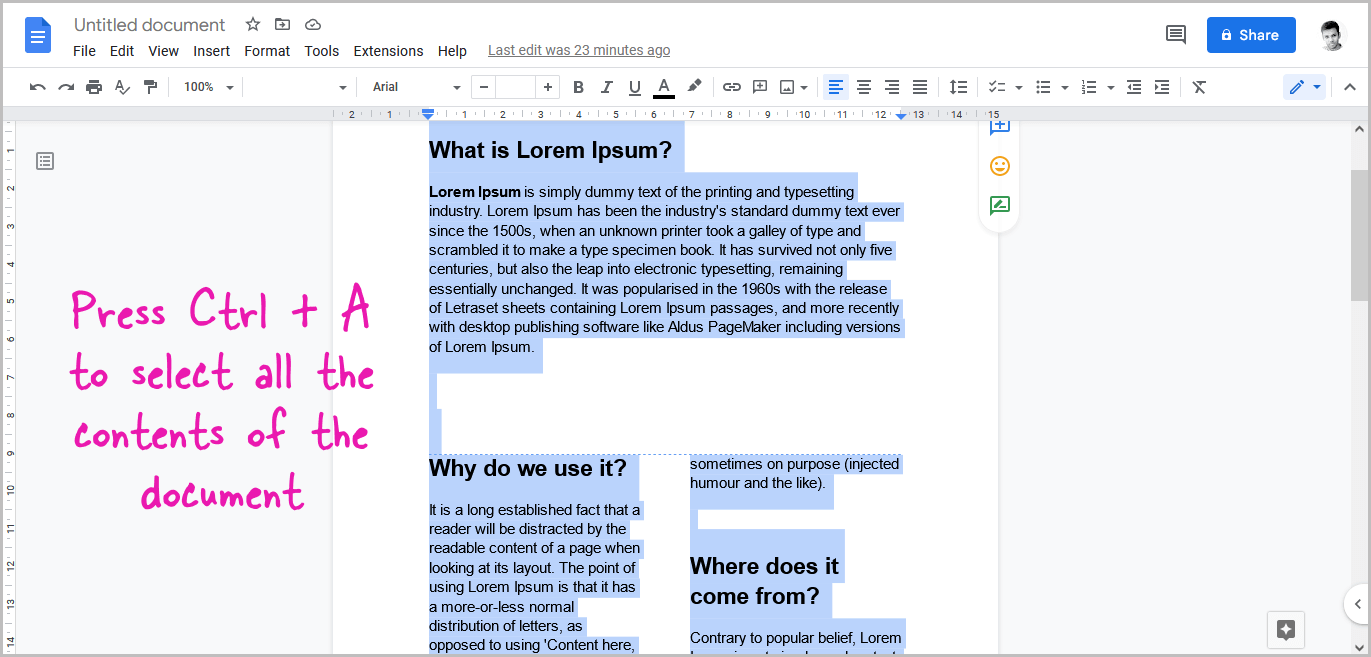
The first step is to open the document and select all the content from the document.
To select all the content, press Ctrl+A.
This will now select all the content from the document.
Step 2: Press Ctrl+C to copy the selected content
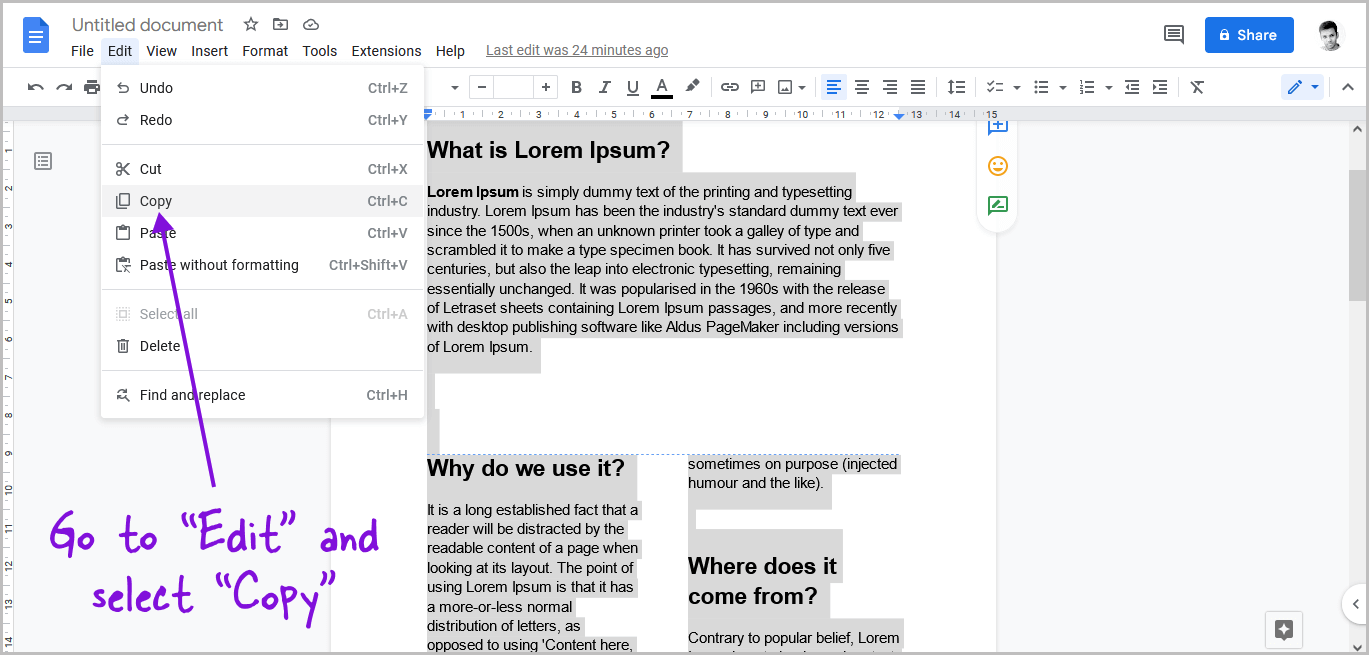
After you select all the content, you have to copy the content.
To copy the content, press Ctrl+C.
Alternatively, you can go to Edit > Copy.
The content will now be copied to the clipboard.
Step 3: Create a new blank document
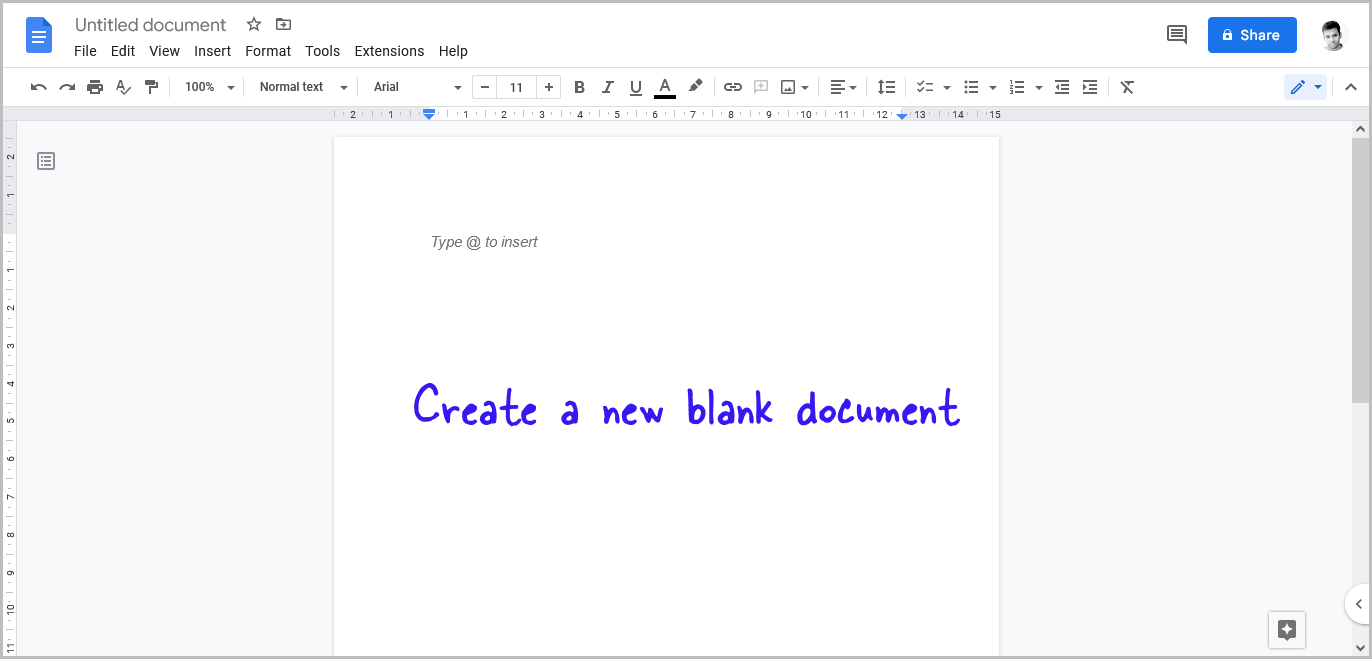
Now, go to docs.google.com and click on the blank template to create a blank document in Google Docs.
Read this guide: How to Create a Blank Document in Google Docs
Step 4: Press Ctrl+Shift+V
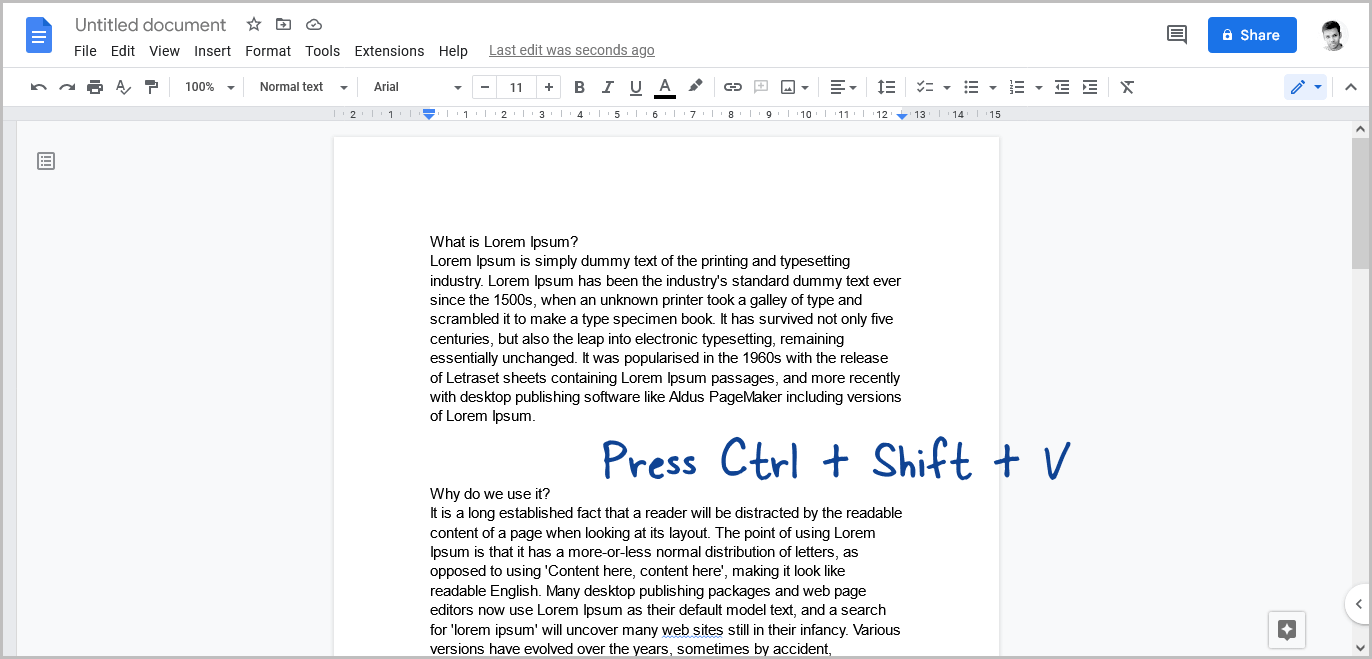
It’s time to paste the content into this blank document.
But we don’t want the formatting.
To paste the copied content without the formatting, press Ctrl+Shift+V.
The document will now be filled with the content of the previous document but without the formatting.
Step 5: Change the number of columns
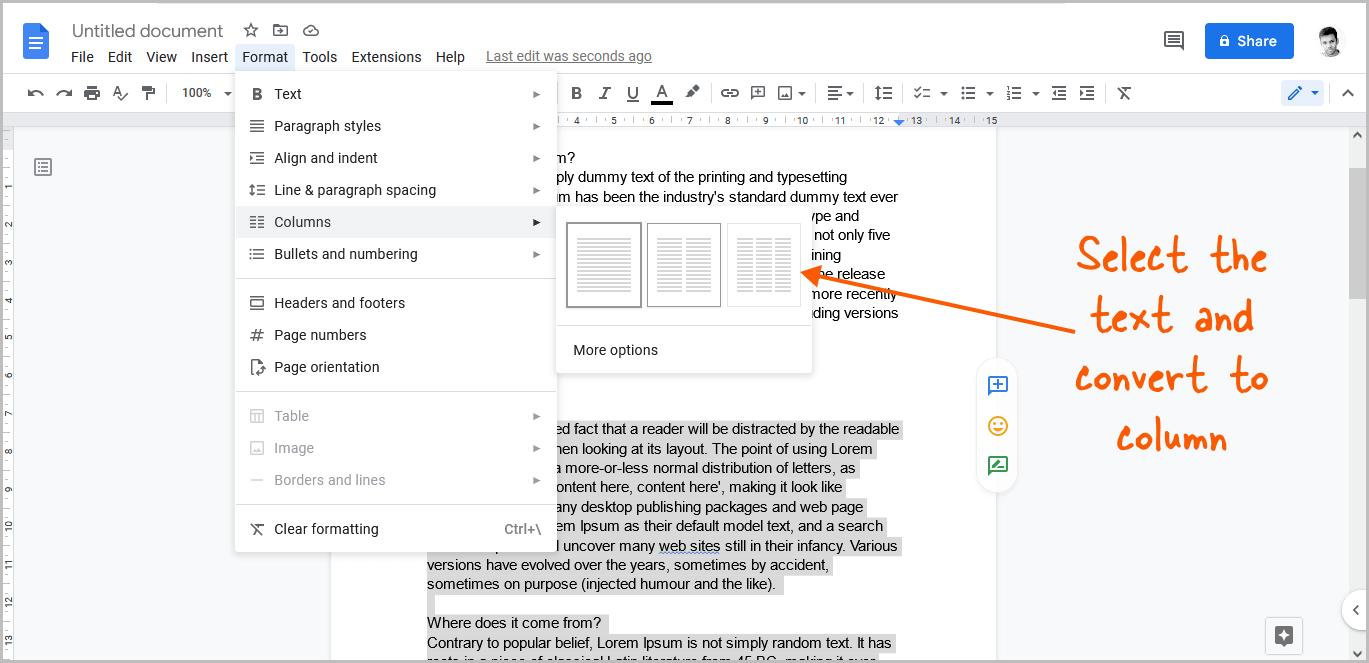
It is now time to add columns to the page.
To add the column, select the content you want to convert to a column, go to Format > Columns, and choose the number of columns from the menu.
Also read:
How to Do 1 Inch Margins on Google Docs
How to Change Underline Color in Google Docs
How to Show Paragraph Marks in Google Docs
How to Duplicate a Page in Google Docs
How to Delete Version History in Google Docs

