Are you wondering how to delete a column in Google Docs?
Whether you’re dealing with a table column or a page column, removing an unwanted column is an easy process.
Perhaps you’ve inserted a table into your document and mistakenly included an extra column, or maybe you’ve divided your page into columns and now want to remove them.
Either way, you can easily delete both types of columns.
This article will teach you how to delete both types of columns in Google Docs.
Also read: (opens in new tab)
How to Make Uneven Columns in Google Docs
How to Make a Table Smaller in Google Docs
How to Switch Back to the Old Layout in Google Docs
How to Delete a Column in Google Docs?
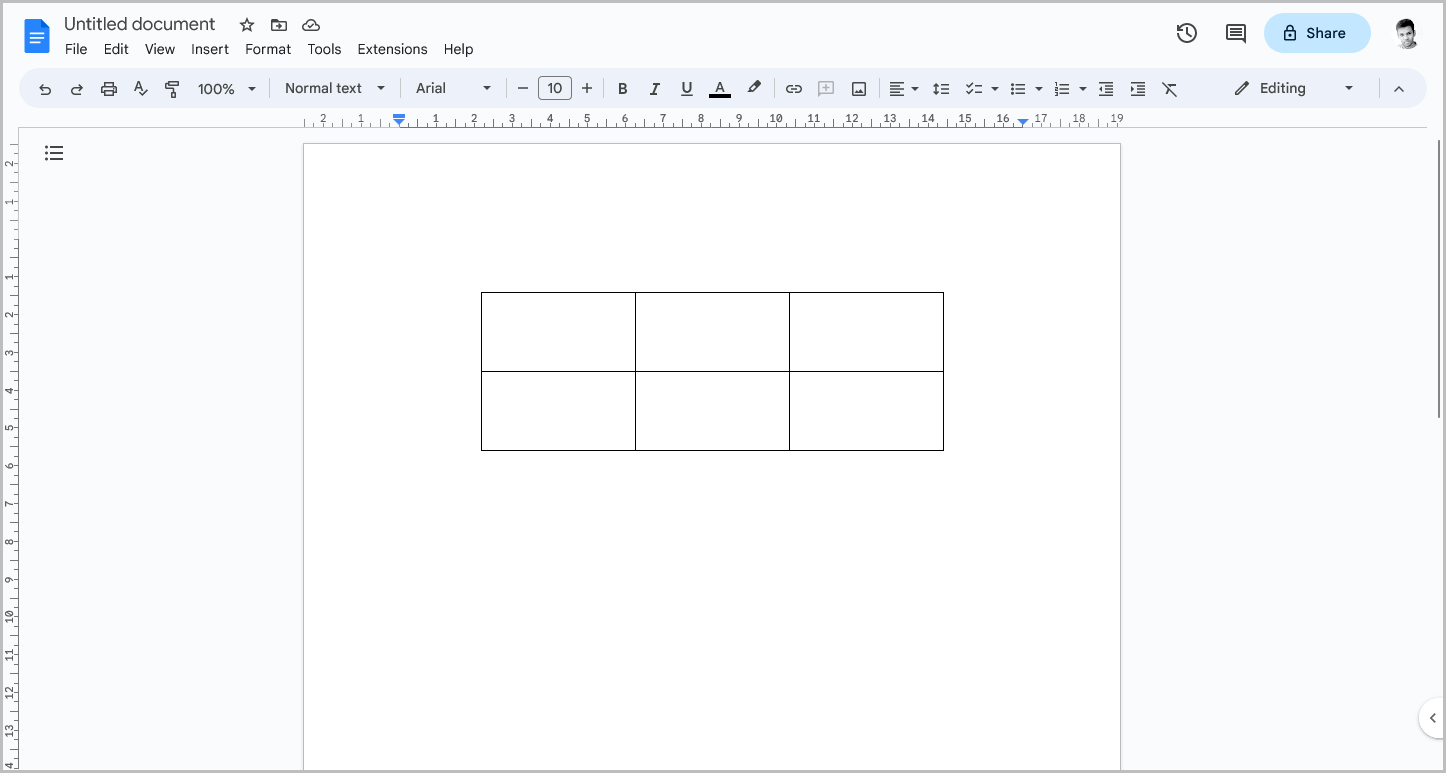
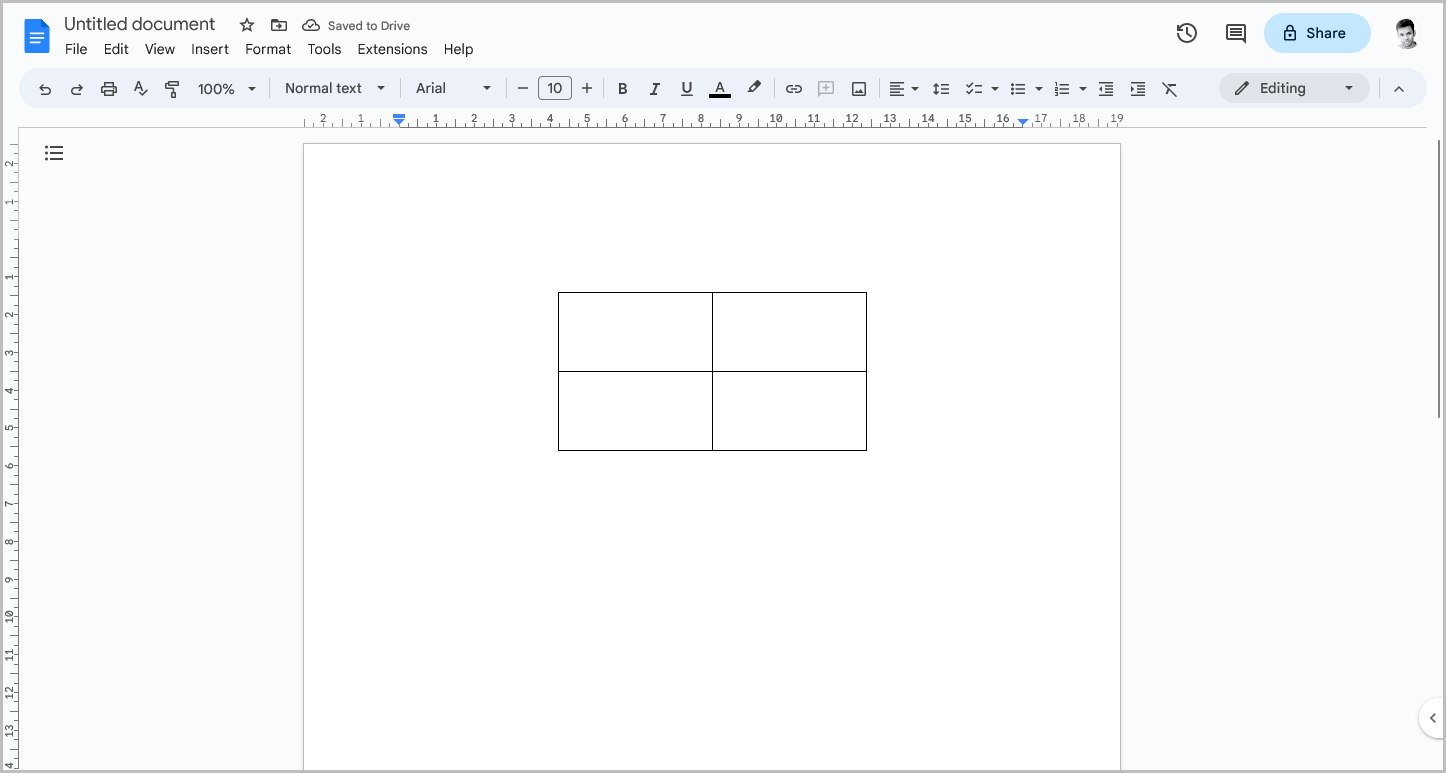
Step 1: Open the document
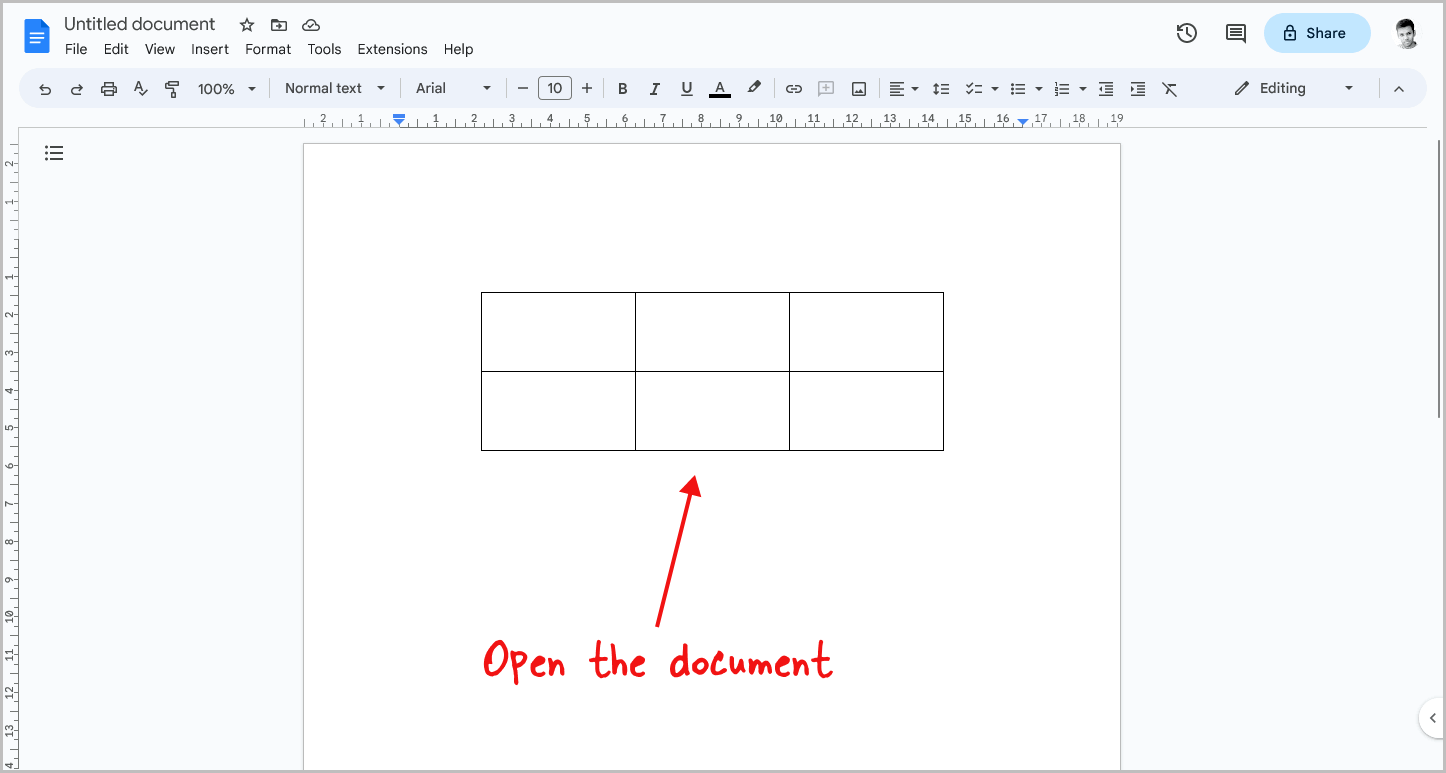
To start, navigate to docs.google.com in your web browser.
Once there, locate the document that contains the table with the extra column that you wish to delete, and click on it to open it.
Once the document is open, you are ready to proceed to the next step.
Note: If you want to delete the page column in your document, follow these steps
Step 2: Right-click on the table column you want to delete
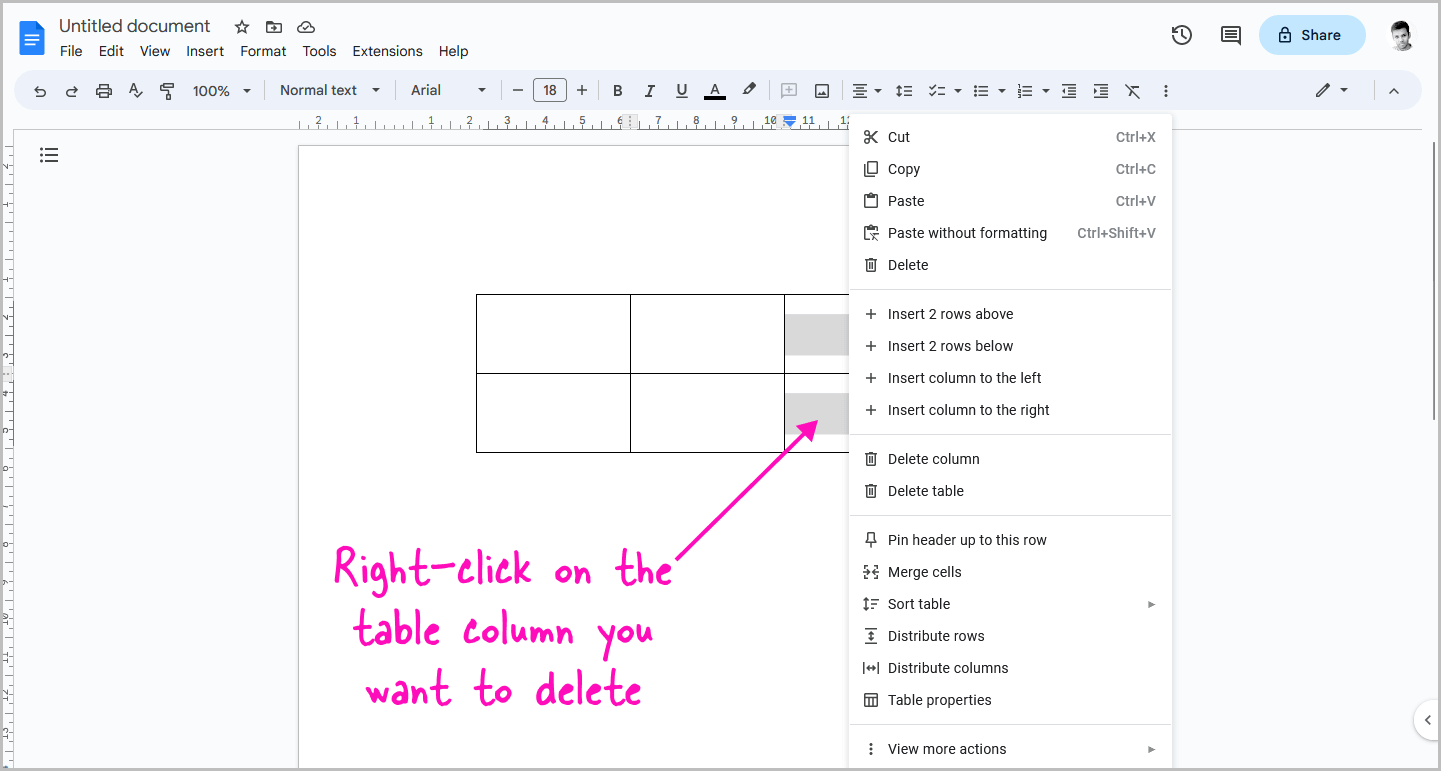
After opening the document, you will need to navigate to the section containing the table that you wish to modify.
Once there, locate the column that you would like to delete and right-click on any cell within that column.
Step 3: Choose “Delete column” from the menu
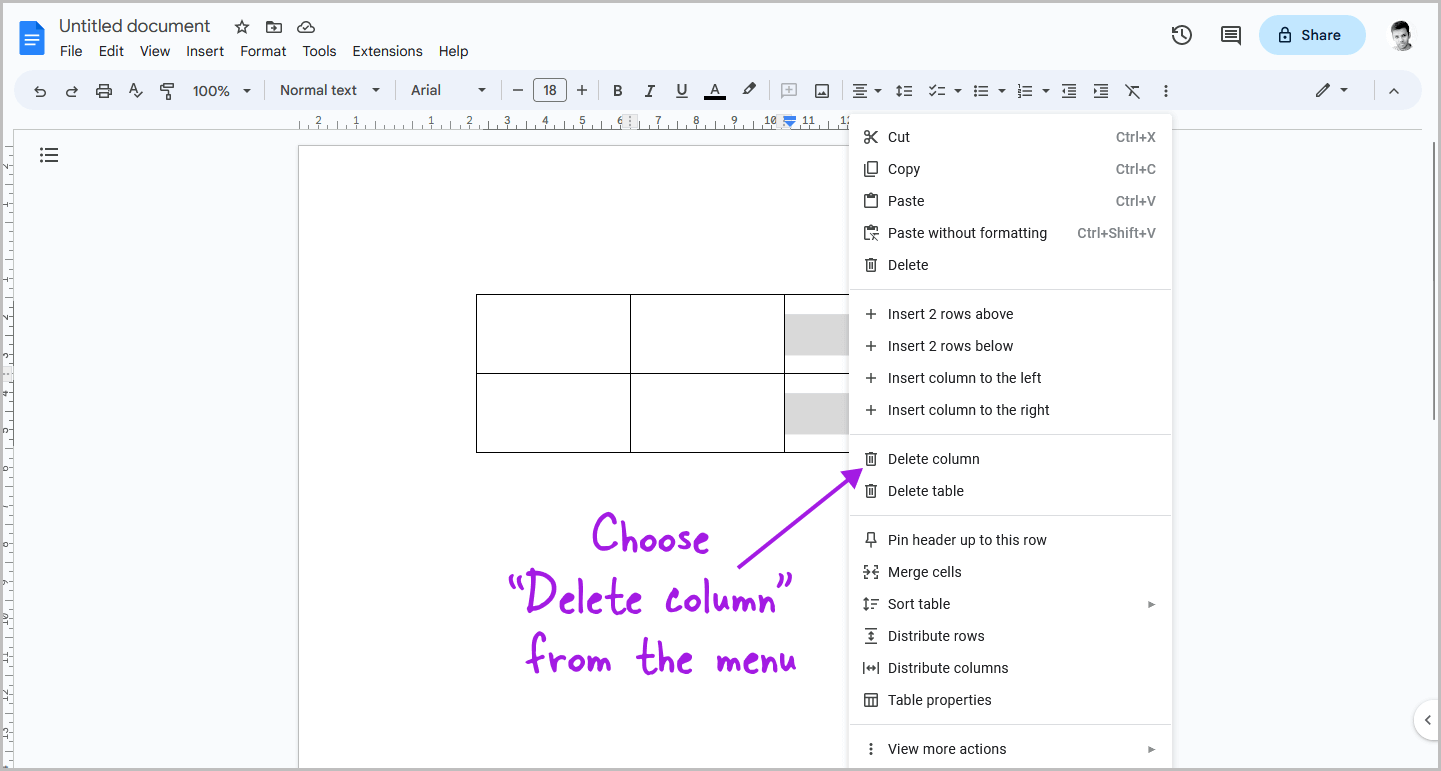
After you right-click on the cell, you will see a context menu with several options.
From the list of options, select “Delete column” to delete the specific column you wish to remove.
If you accidentally delete the wrong column, do not worry. You can easily undo this action by pressing Ctrl+Z on your keyboard.
How to Delete a Column in a Document in Google Docs?
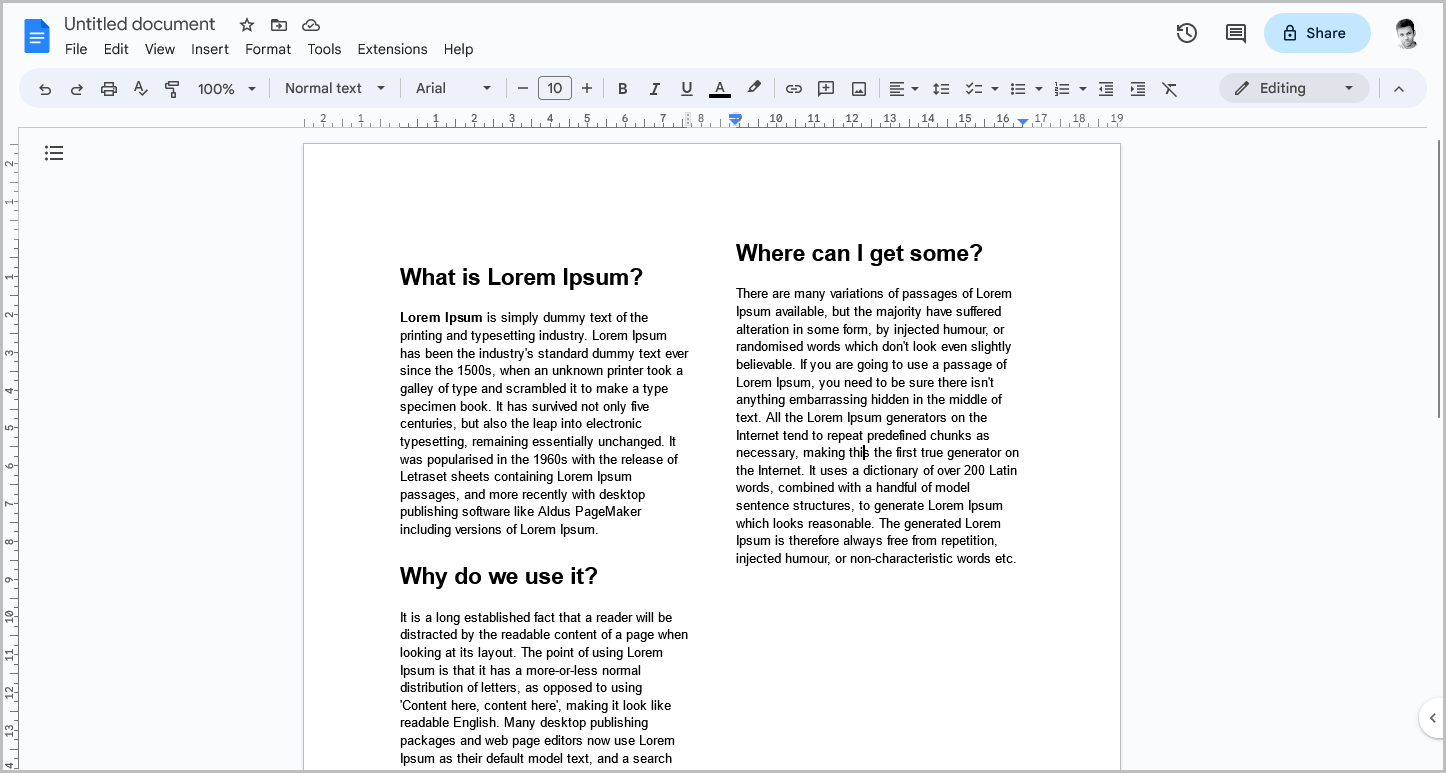
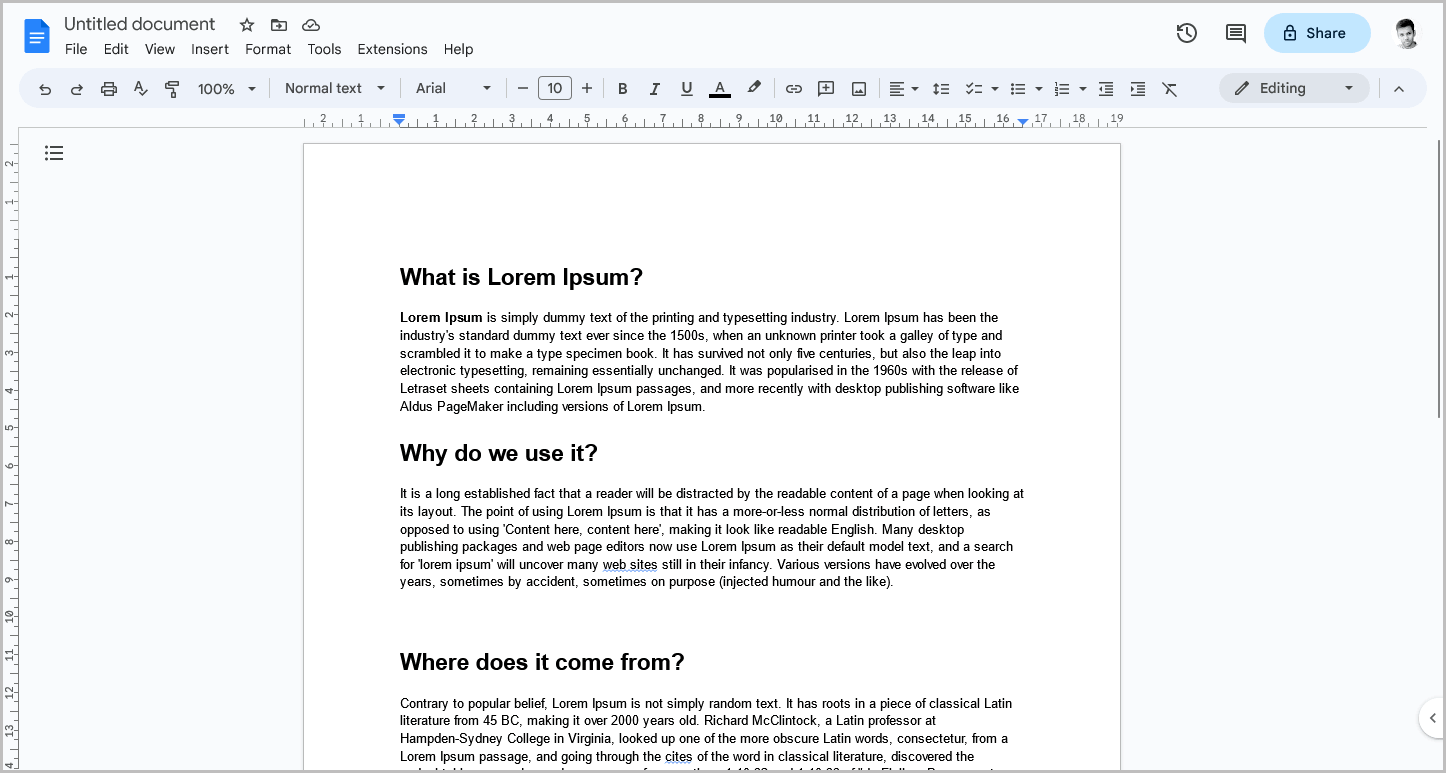
Step 1: Open the document from which you want to delete a column
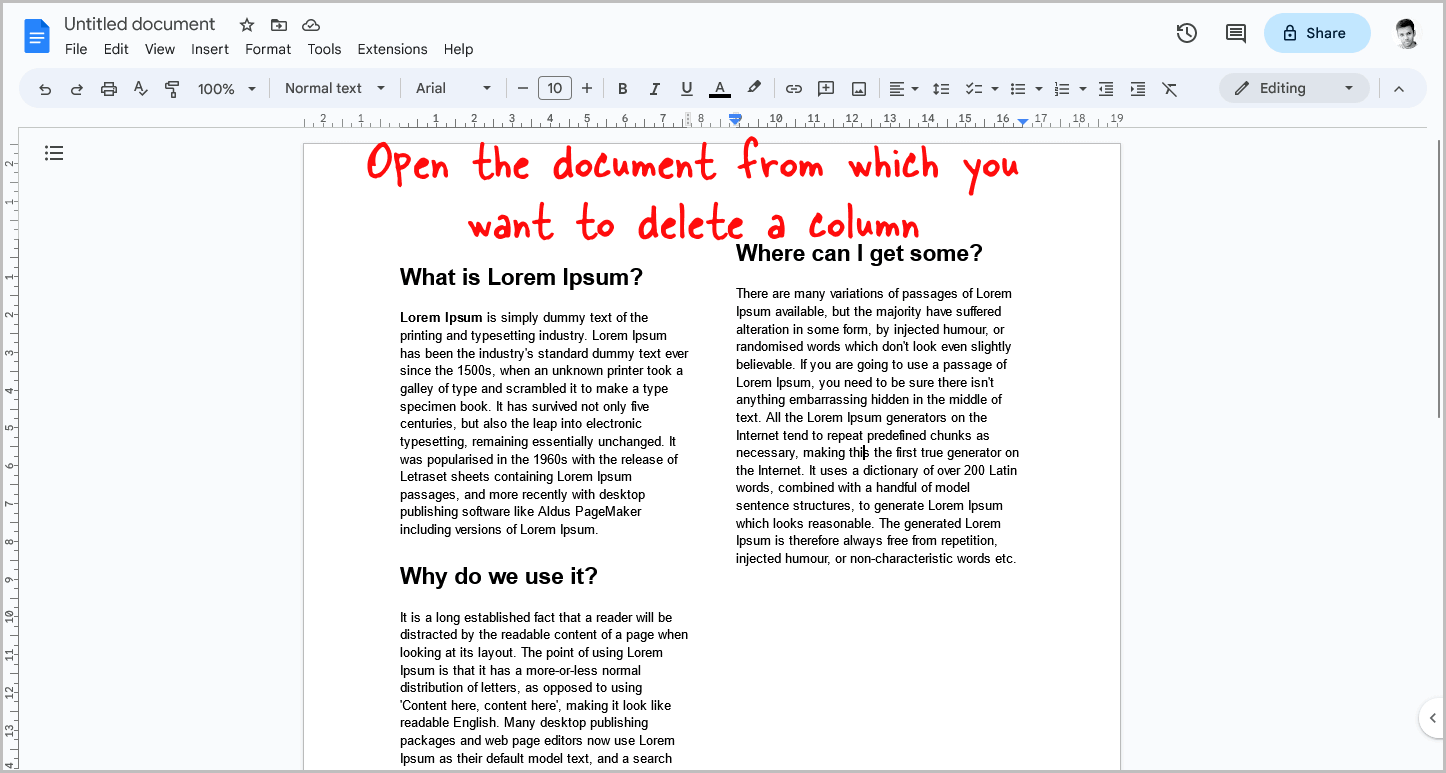
In Google Docs, you have the option to divide a page into a maximum of three columns.
This can be useful for creating newsletters or other types of documents that require a more complex layout.
However, there may be situations where you decide that you no longer need the columns that you have created.
In this case, you can choose to delete one or more columns.
To begin, open the document from which you want to delete the column.
Step 2: Click on the “Format” option
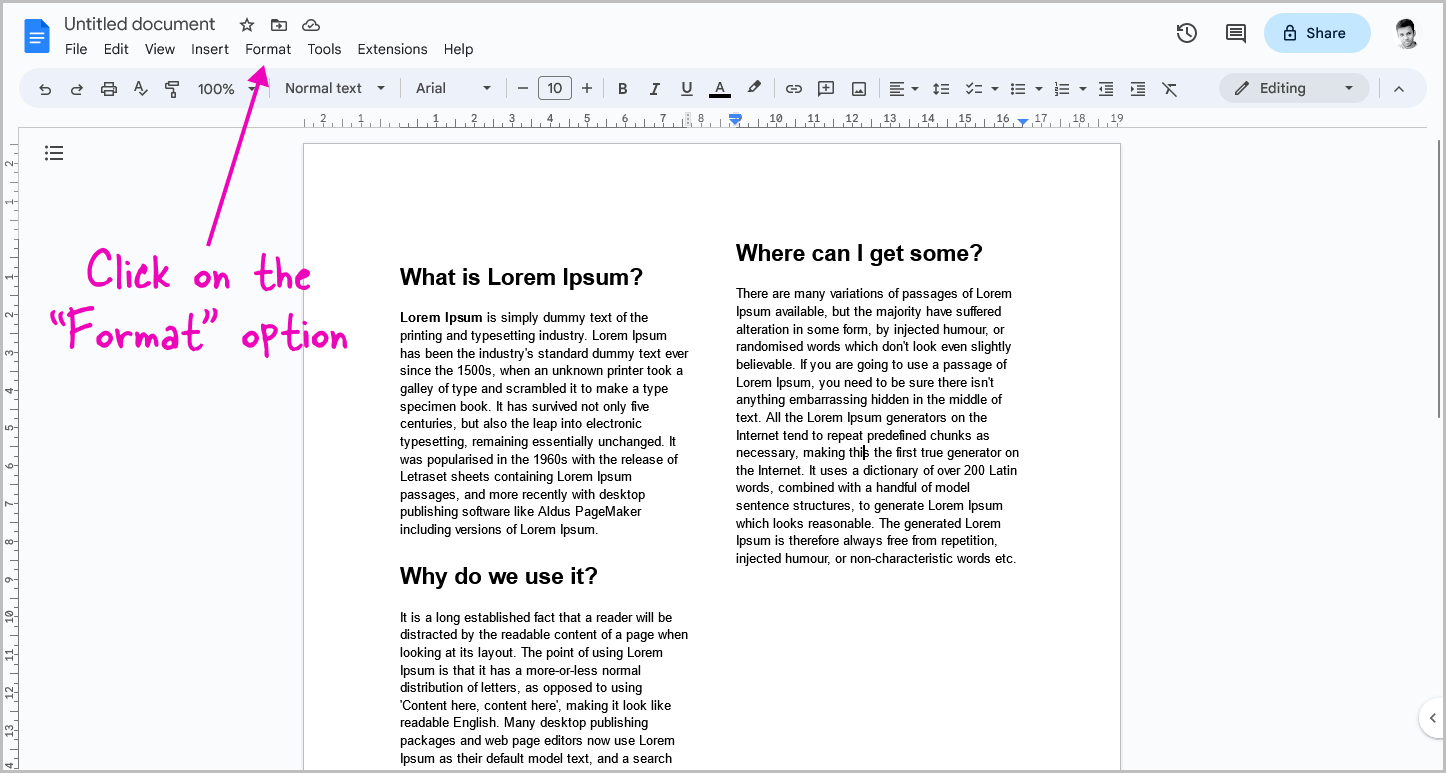
Now, select the “Format” option from the top menu.
Step 3: Select “Columns”
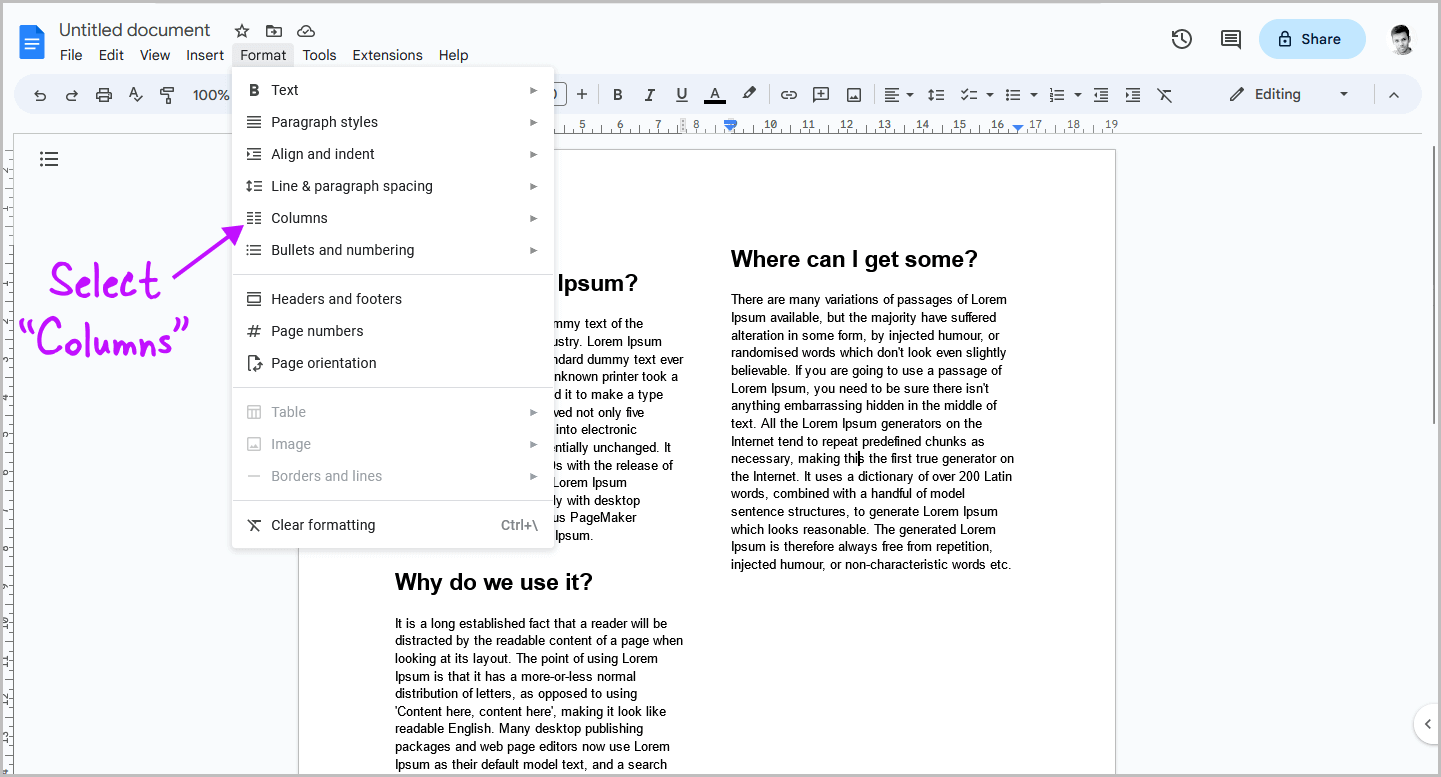
After selecting the “Format” option, you will see a drop-down menu with a list of options.
From the drop-down menu, choose the “Columns” option, and proceed to the next step.
Related: Google Docs Columns Greyed Out
Step 4: Select 1 column
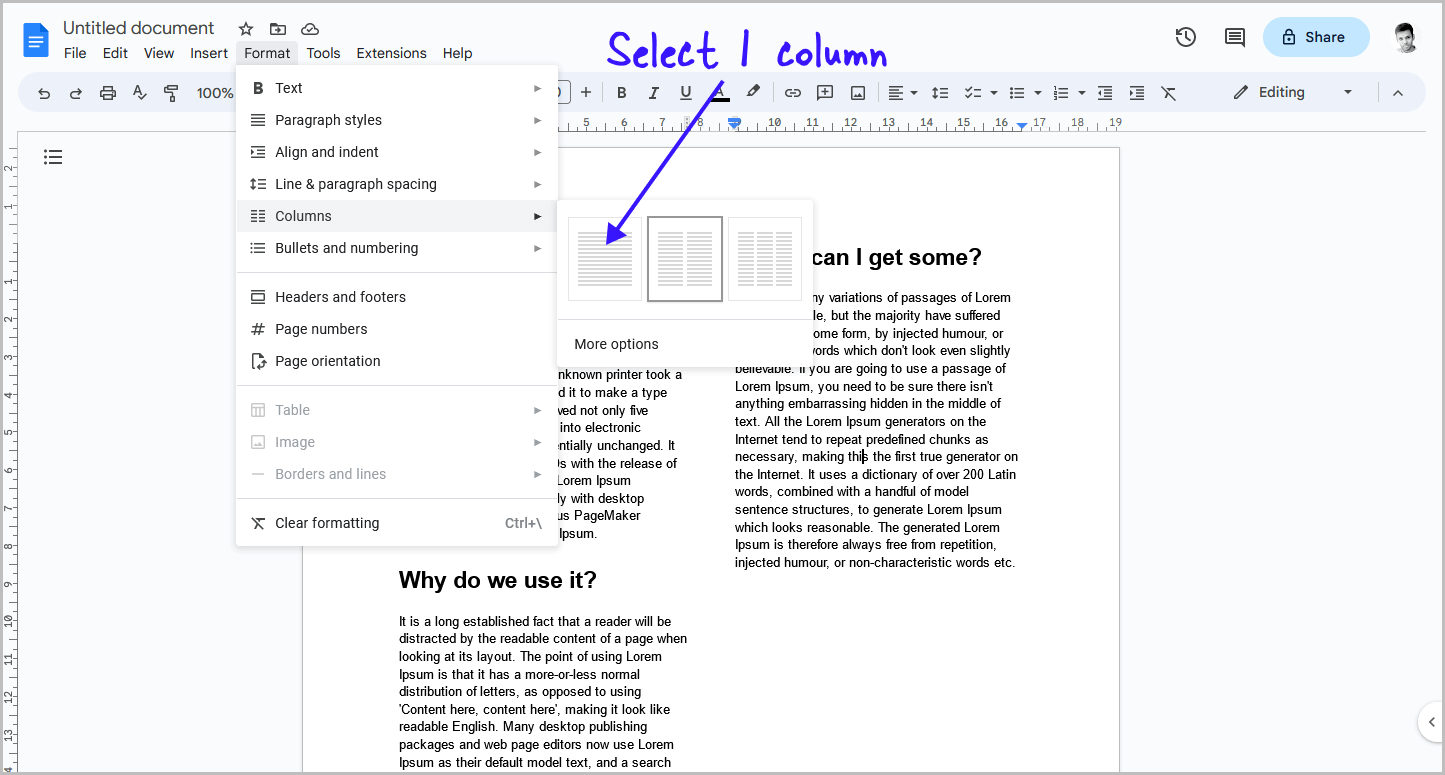
Once you have opened the drop-down menu, you will notice that there are three options available for you to choose from: 1 column, 2 columns, and 3 columns.
Related: How to Make Four Columns in Google Docs
If you find that you have mistakenly selected 2 or 3 columns and would like to revert back to the default setting, simply select the “1 column” option.
Conversely, if you would like to switch from 3 columns to 2, select the “2 columns” option.
Conclusion
In this article, we have learned how to delete both table columns and page columns in Google Docs.
To summarize:
- To delete a table column, right-click on the column and select “Delete column” from the context menu.
- To delete a page column, click on the “Format” option in the top menu, select “Columns,” and choose the appropriate number of columns.
By following these simple steps, you can easily remove unwanted columns from your Google Docs document.

