Would you like to learn how to put images side by side in Google Docs?
Adding images to your document can be a powerful way to communicate ideas and information.
They can help break up text and make your document more visually appealing and engaging.
However, what if you want to place two or more images side by side?
While you could try directly dragging and dropping the images and hoping for the best, what if you want greater control over the image size, spacing, and alignment?
In this article, I will explain two easy ways to put images side by side in Google Docs.
Also read: (opens in new tab)
How to Group Images in Google Docs
How to Hyperlink an Image in Google Docs
Google Docs Unsupported Image Type
How to Lock an Image in Google Docs
How to Put Images Side by Side in Google Docs
To put images side by side in Google Docs, first drag and drop each image onto the document one by one. Then, select each image and choose “Behind text.” Drag and place the images side by side. Alternatively, you can insert a 2×1 table and add an image to each cell.
Method 1: Using the “Text wrapping” option
1. Insert the images one by one
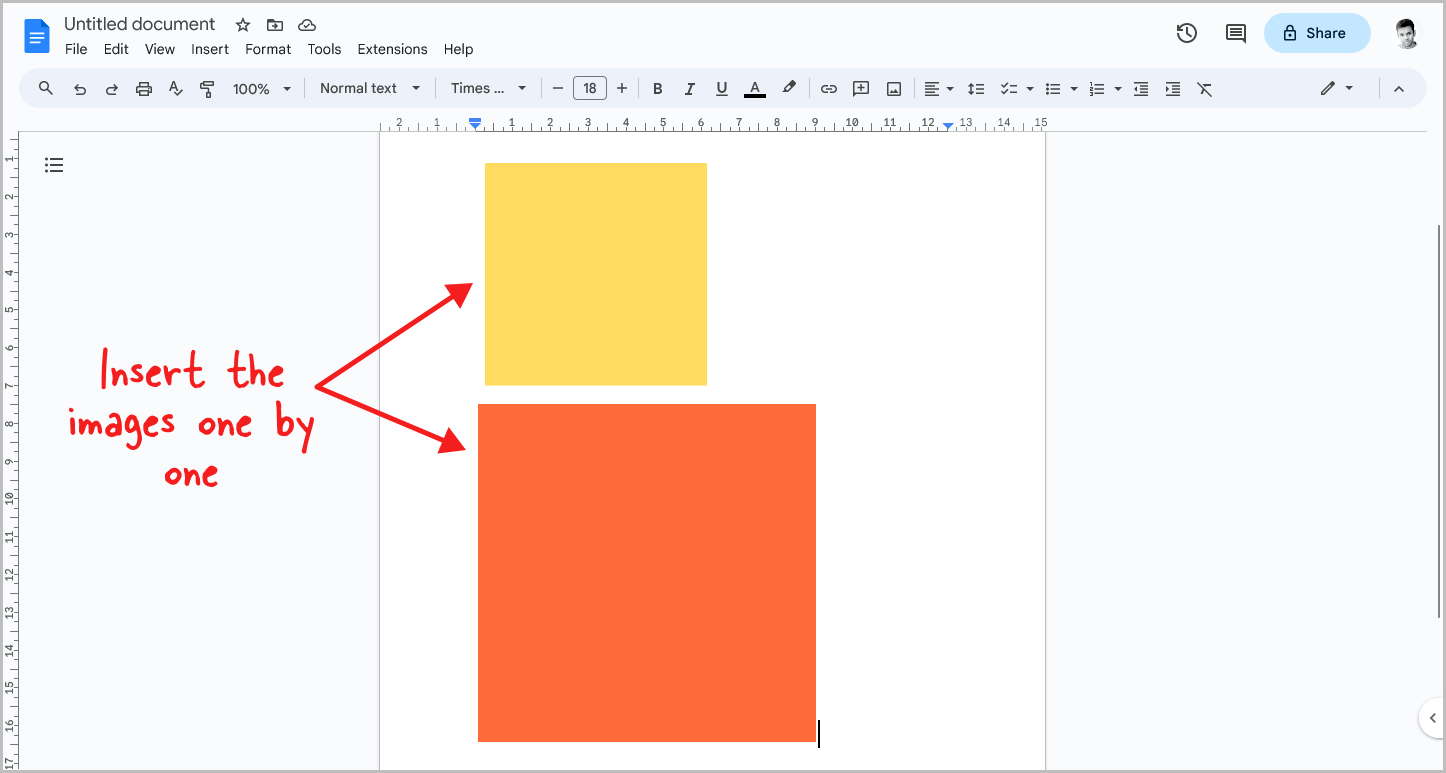
The first step is to insert the images into your document.
Simply drag and drop the first image into the document, and then repeat the process for the second image.
Don’t worry about the size of the images at this point, as we’ll take care of it later.
2. Click on the image
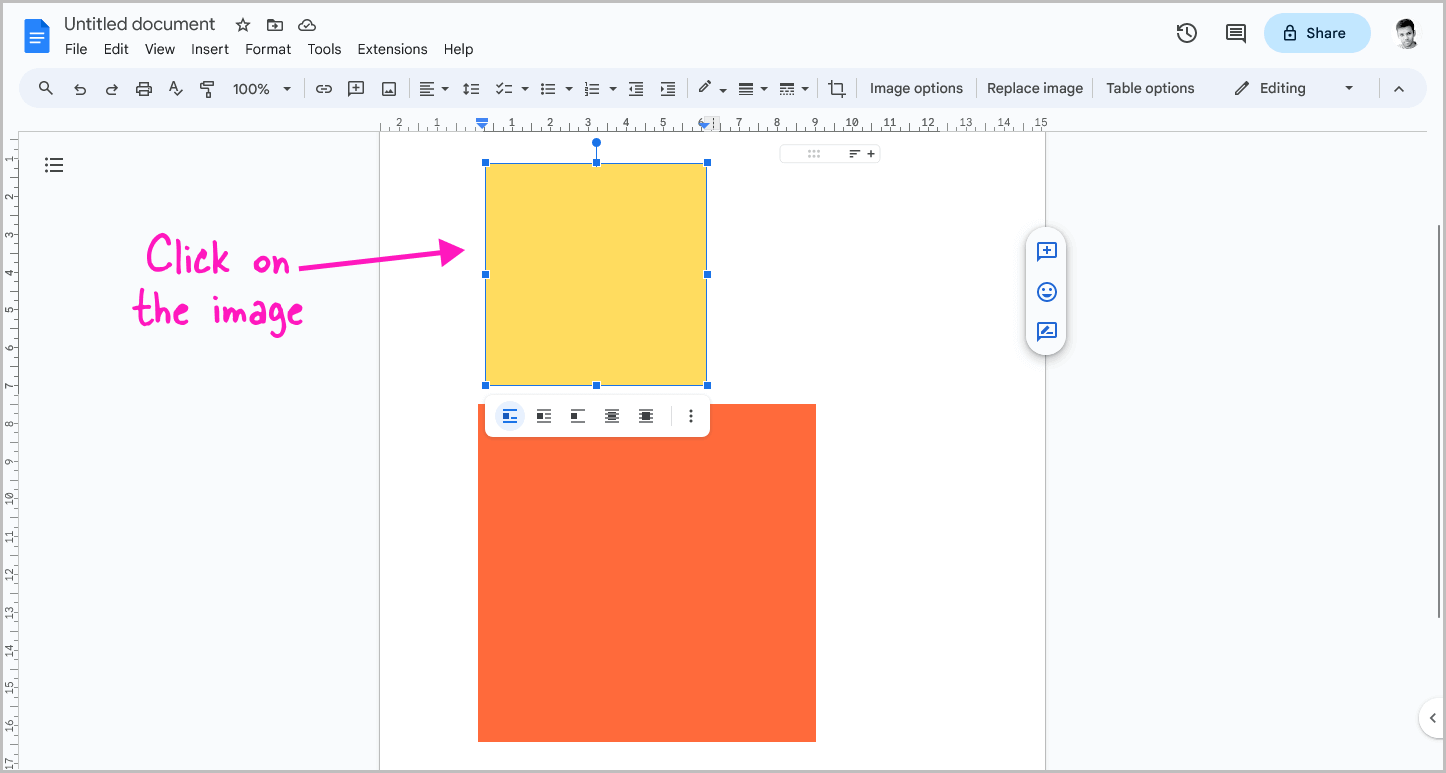
Now, click on the first image to select it and then proceed to the next step.
3. Select “Behind text”
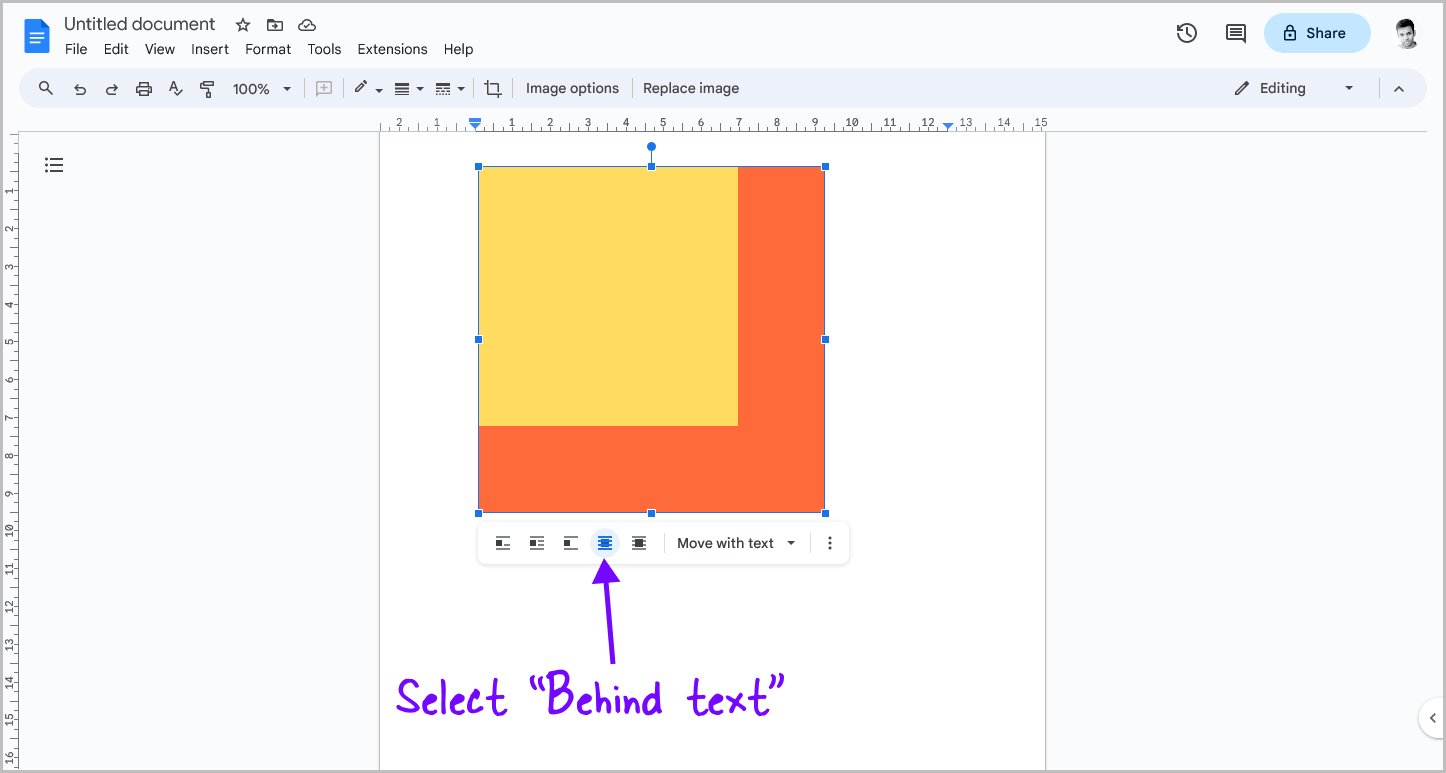
After clicking on an image, a small panel will appear below it.
This panel contains various symbols and options.
Hover over each symbol to view its name, and then click on the “Behind text” symbol.
Repeat this process for the second image.
Now, you can freely move the images around as needed.
4. Resize the images
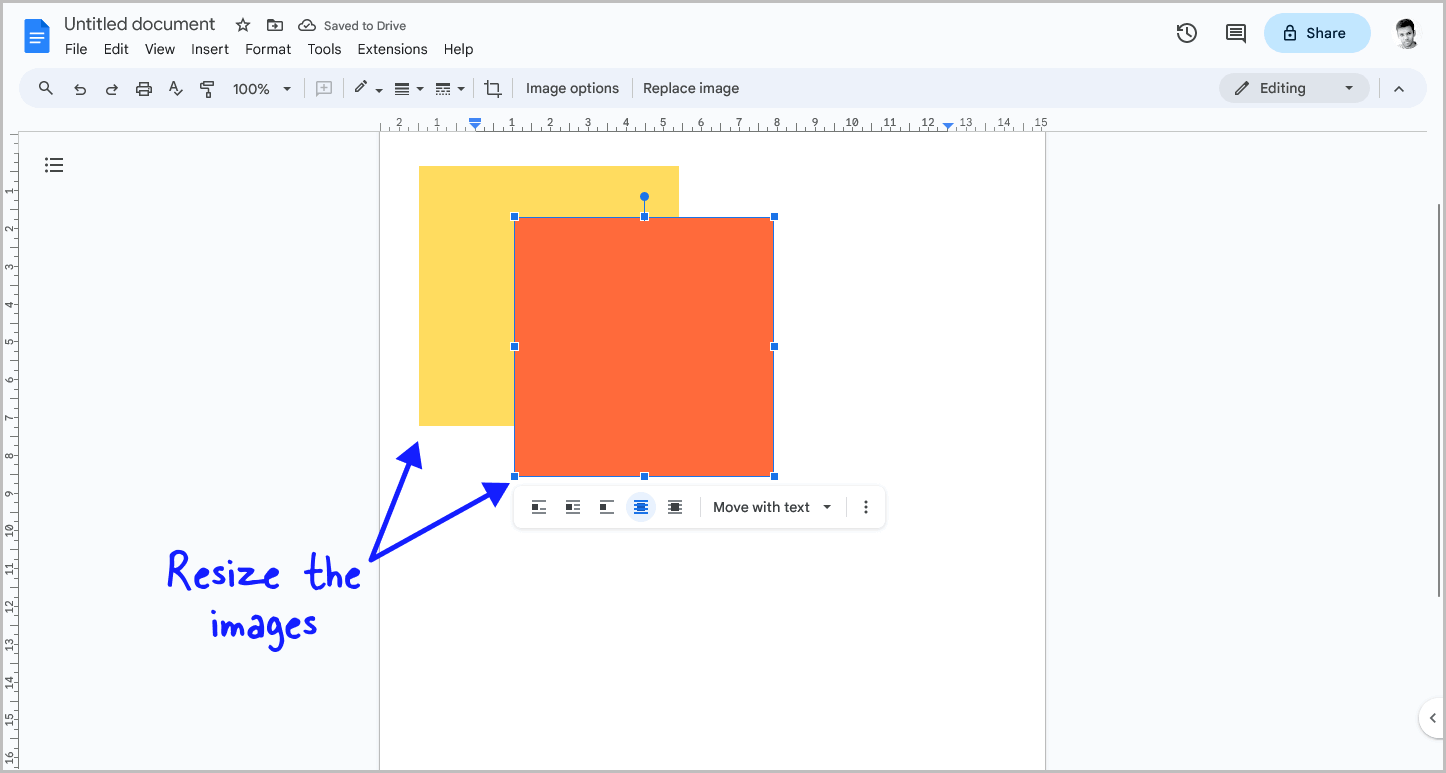
Before moving the images, it is necessary to resize them.
To do so, click on an image to select it, then click and drag any of the small boxes on the image border to make it bigger or smaller.
Hold down the Shift key while dragging to resize the image proportionally.
Repeat this step with the second image.
5. Place the images side by side
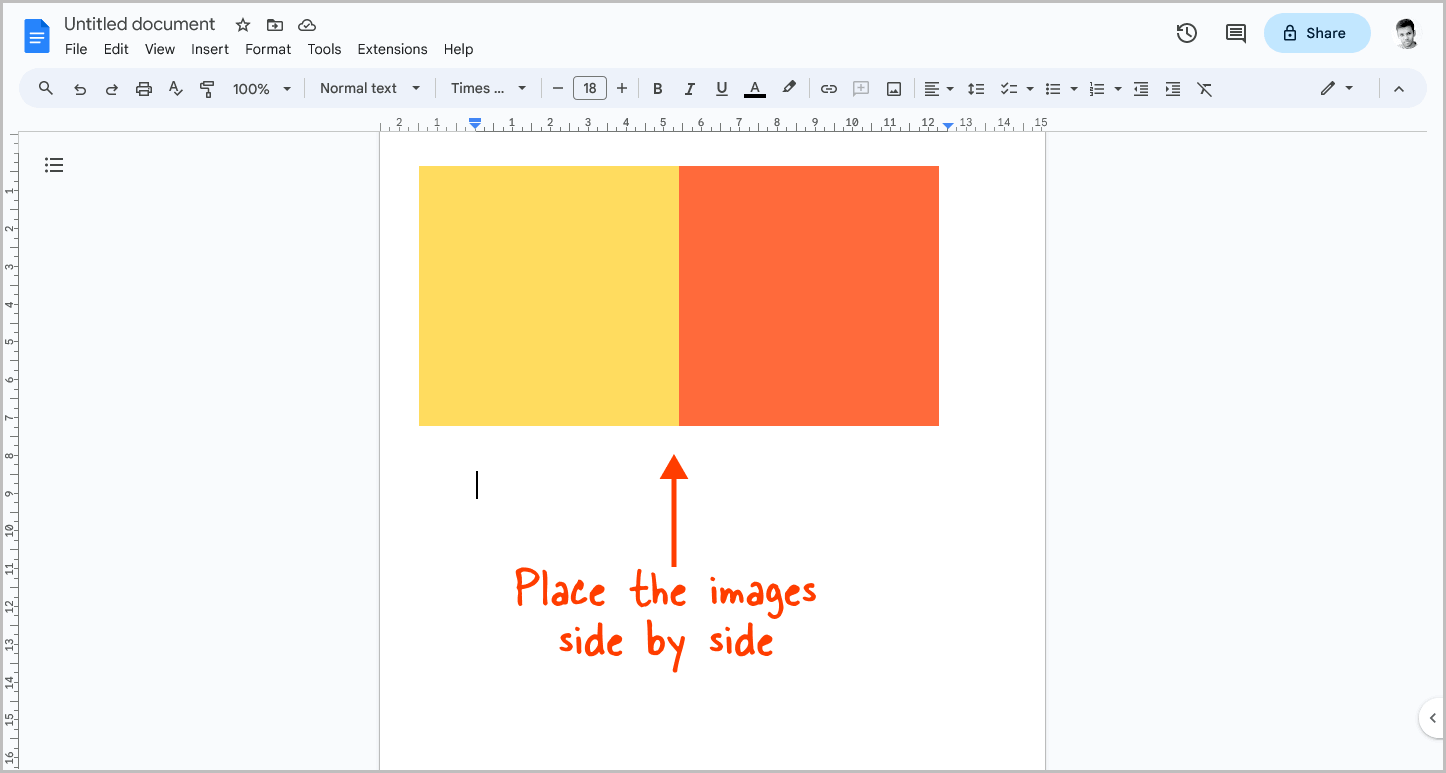
Now, all we have to do is place the images next to each other.
To do this, first, drag the first image to the correct spot on the page.
Then, drag the second image next to the first one and resize the images further if necessary.
Finally, adjust the spacing between the two images as needed.
Method 2: Using a 2×1 table
1. Go to Insert > Table > 2×1
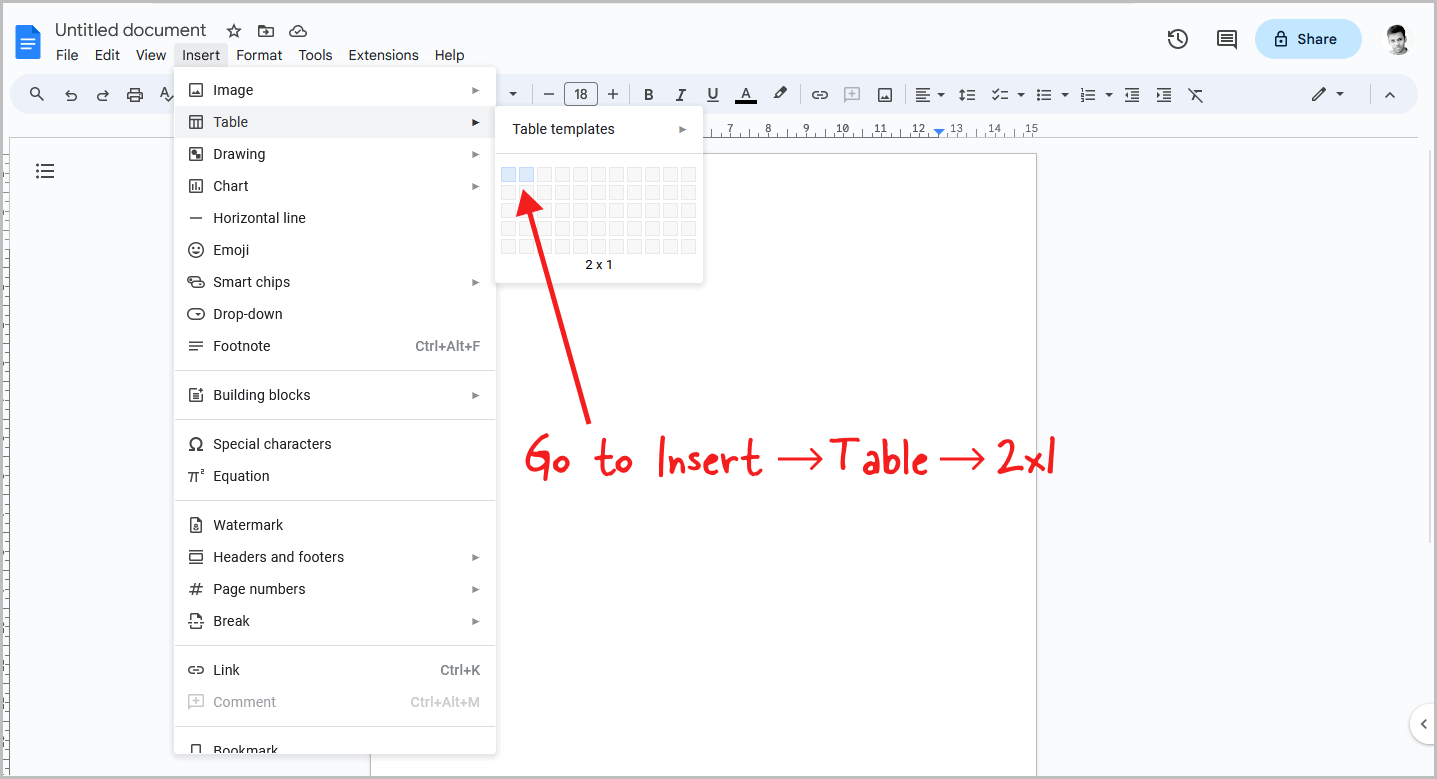
The second method involves using a 2×1 table.
To get started, click on the “Insert” option located in the top menu.
Then, select “Table” from the drop-down menu, and finally, choose a 2×1 table, which consists of two cells.
You can increase the number of rows in a table to add more images side by side.
For example, if you need to add three images, select a 3×1 table.
If you need to add four images, select a 4×1 table, and so on.
While you can add as many rows as you like, note that since the page has limited space, each image will be reduced in size.
2. Insert the first image into the first cell
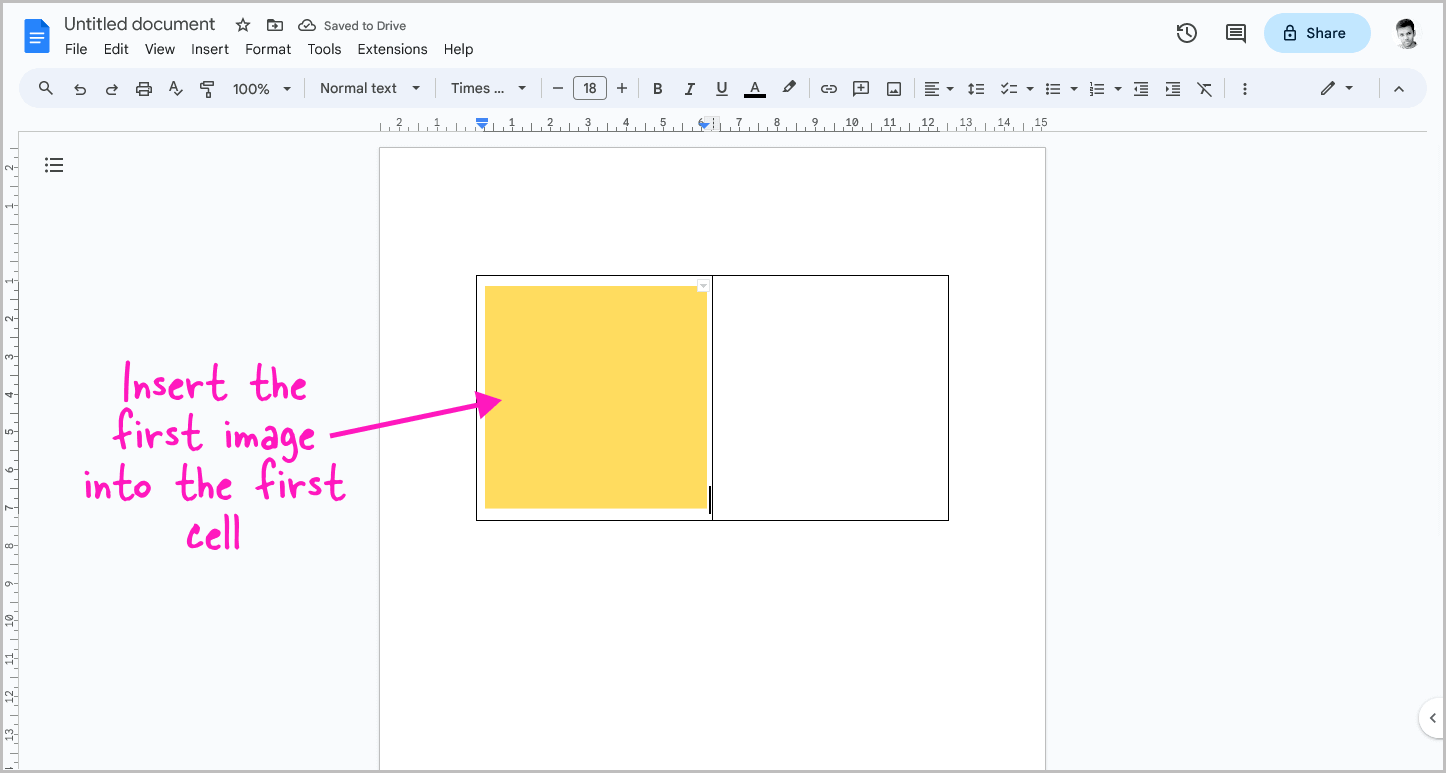
Now, click inside the first cell and drag and drop the image into it.
Alternatively, you can click inside the first cell and go to Insert > Image > Choose an image source of your choice.
3. Insert the second image into the second cell
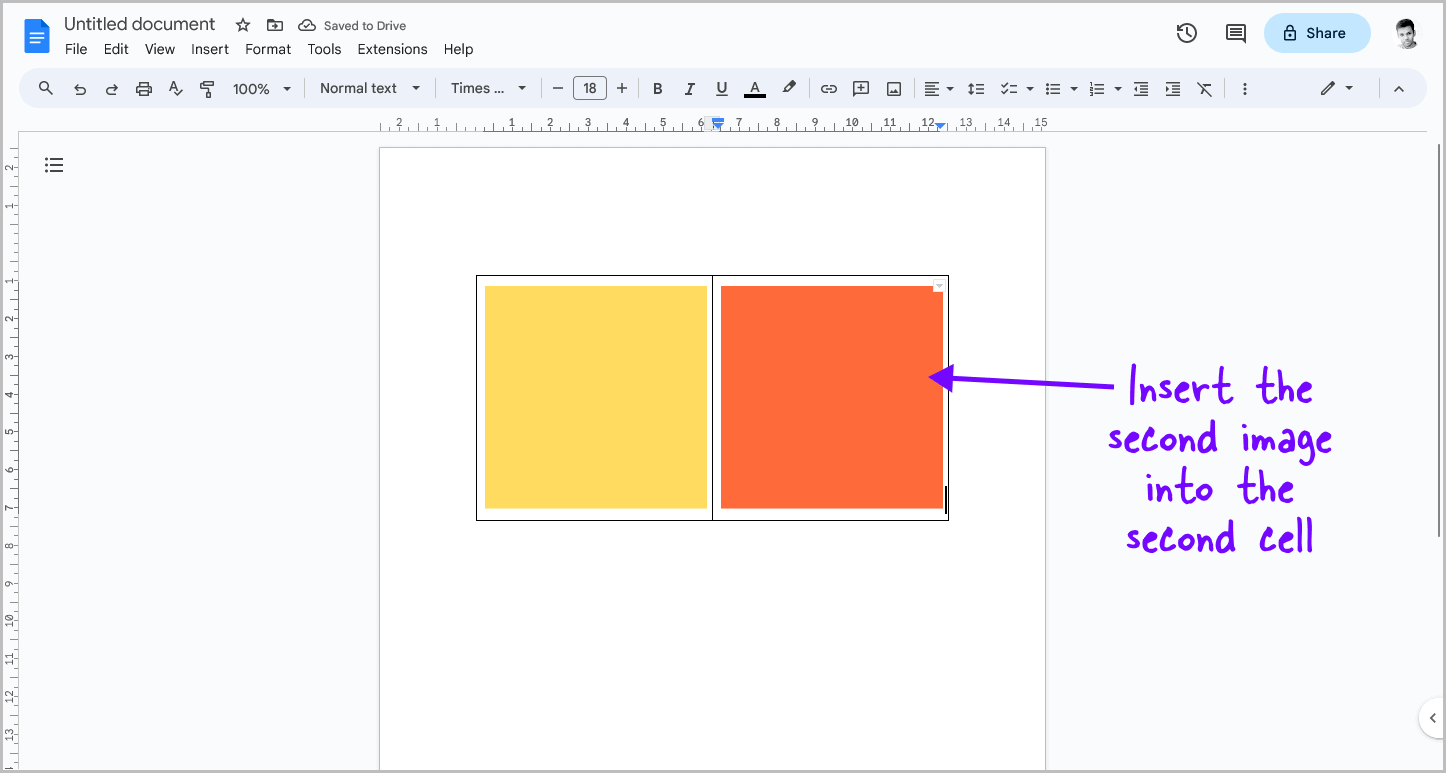
Now, insert the second image into the second cell, just as you added the first image.
4. Right-click inside the table and select “Table properties”
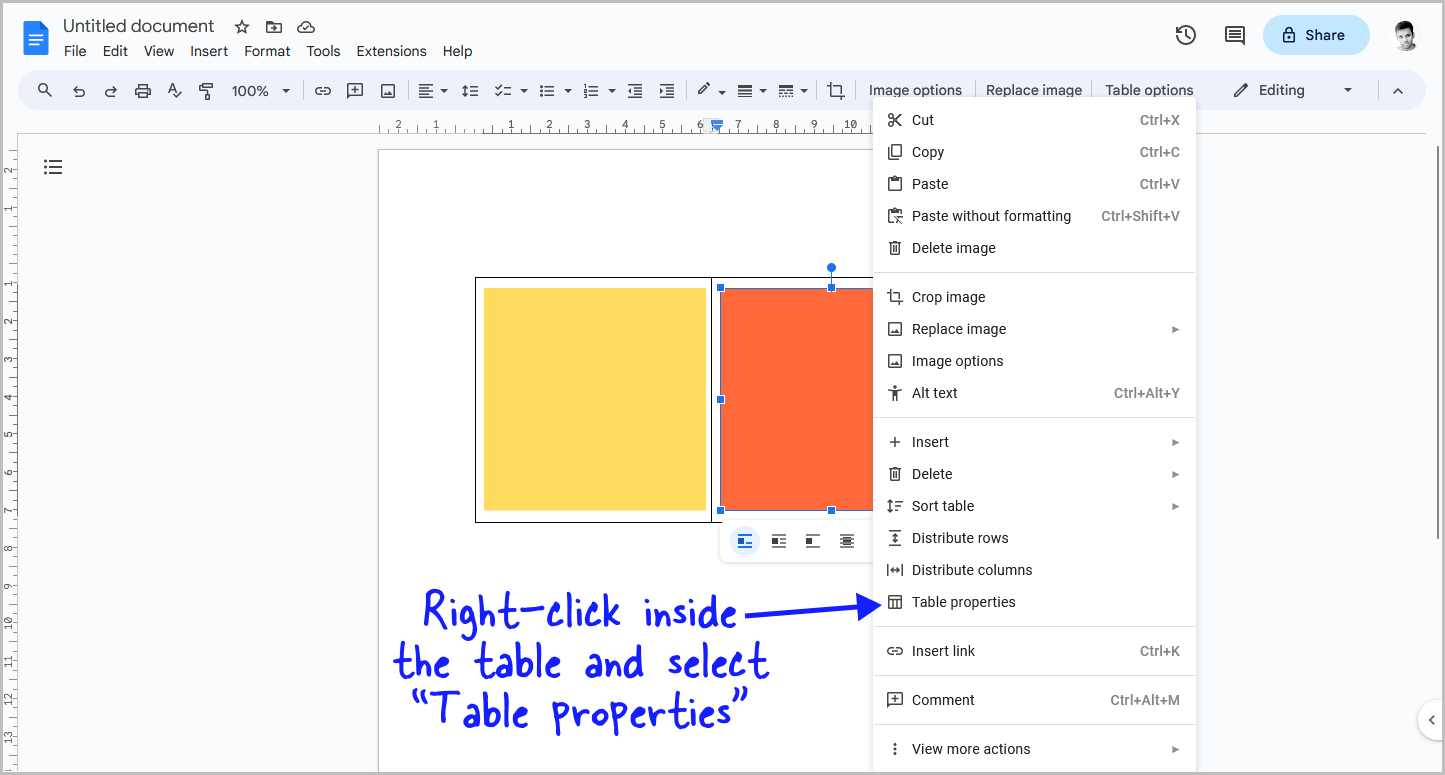
Now that you have added the images, it is time to remove the table borders.
In these three steps, you’ll learn how to remove the table borders.
To begin, right-click anywhere inside the table and select “Table Properties” from the drop-down menu.
5. Choose “Color” settings
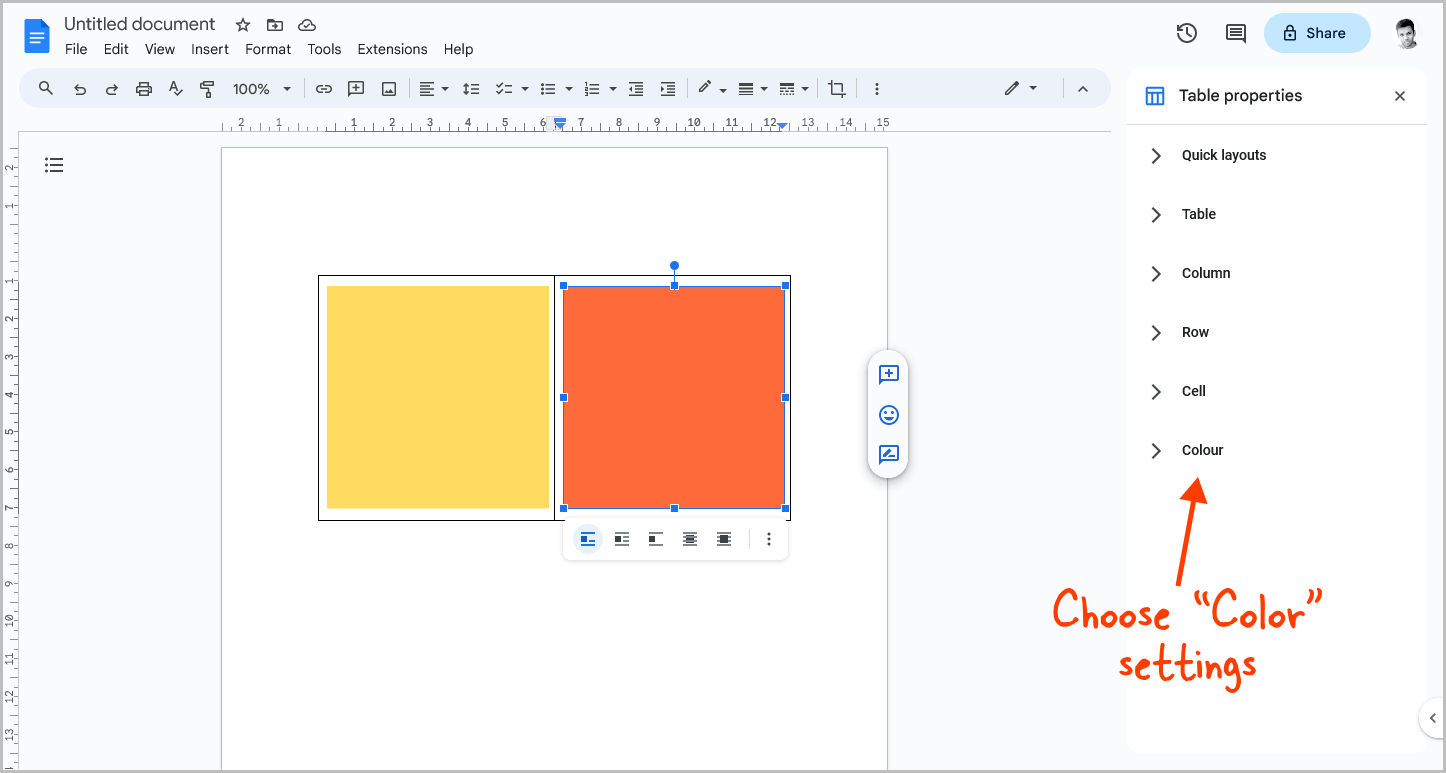
You will now see the “Table Properties” panel on the right side of the page.
This panel displays various table settings. Click on the “Color” settings toggle, and then proceed to the next step.
6. Click on the “Table border width” menu and select “0pt”
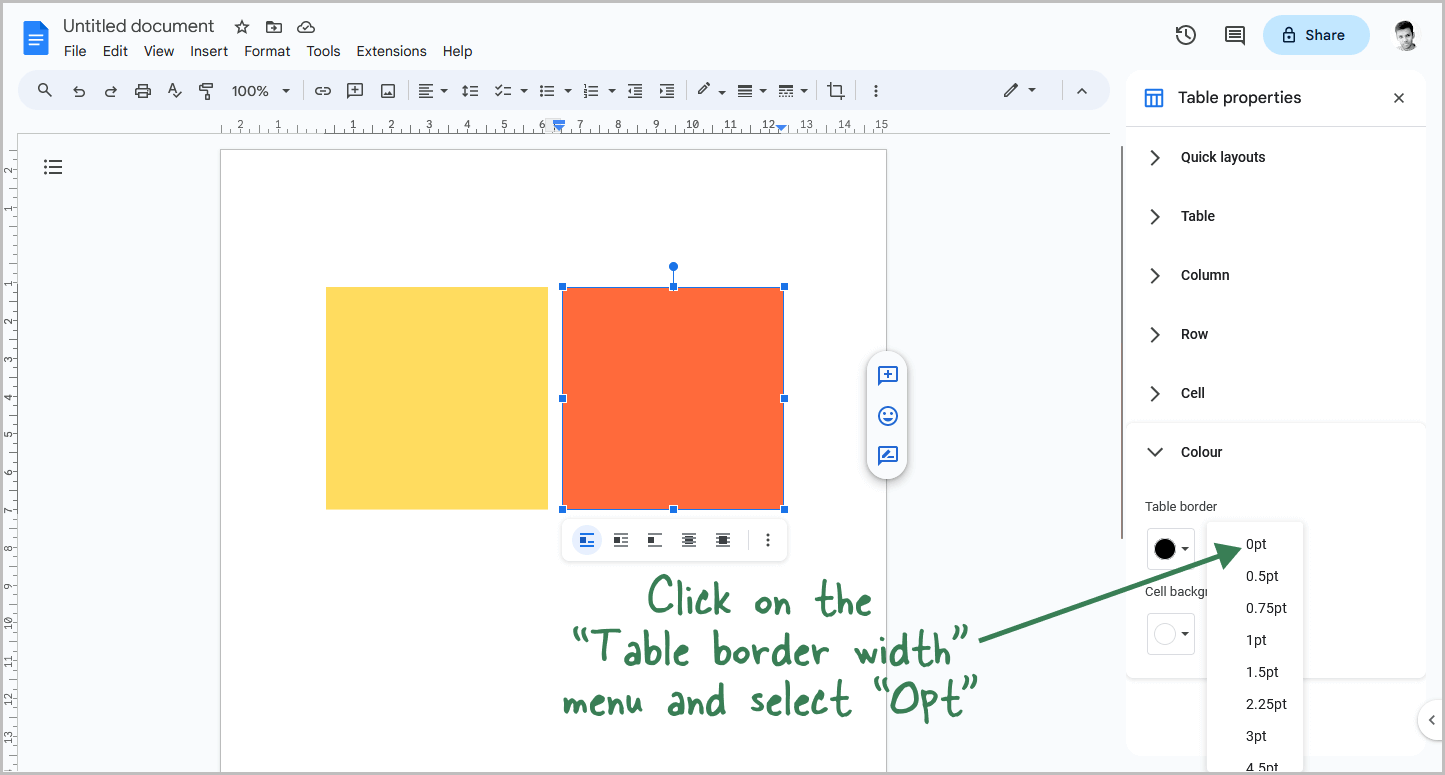
You can adjust the border color, border width, and cell color in the Color settings.
By default, the border width is set to “1pt”.
Click on the “Table border width” menu and select “0pt” from the drop-down menu.
This will remove the table border from the document.
FAQ
How do I put two pictures side by side in Google Doc?
To put two pictures side by side in Google Docs, drag and drop each picture onto the document one by one. Then, select each picture, choose “Behind text,” and place them side by side.
Summary
Adding images side by side in Google Docs is a simple process that can help make your document more visually appealing and engaging.
Here’s how to put images side by side in Google Docs:
- Insert the images one by one
- Click on the image
- Select “Behind text”
- Resize the images
- Place the images side by side

