
In this tutorial, you’ll learn how to create a table in Google Sheets. To make it simple, I have broken the guide into steps and attached screenshots of each step. This tutorial is for the Google Sheets web app.
Also read (opens in new tab):
How to Freeze 3 Columns in Google Sheets
How to Print Google Sheets Without Gridlines
How to Highlight a Word in Google Sheets in Just 3 Easy Steps
To create a table in Google Sheets:
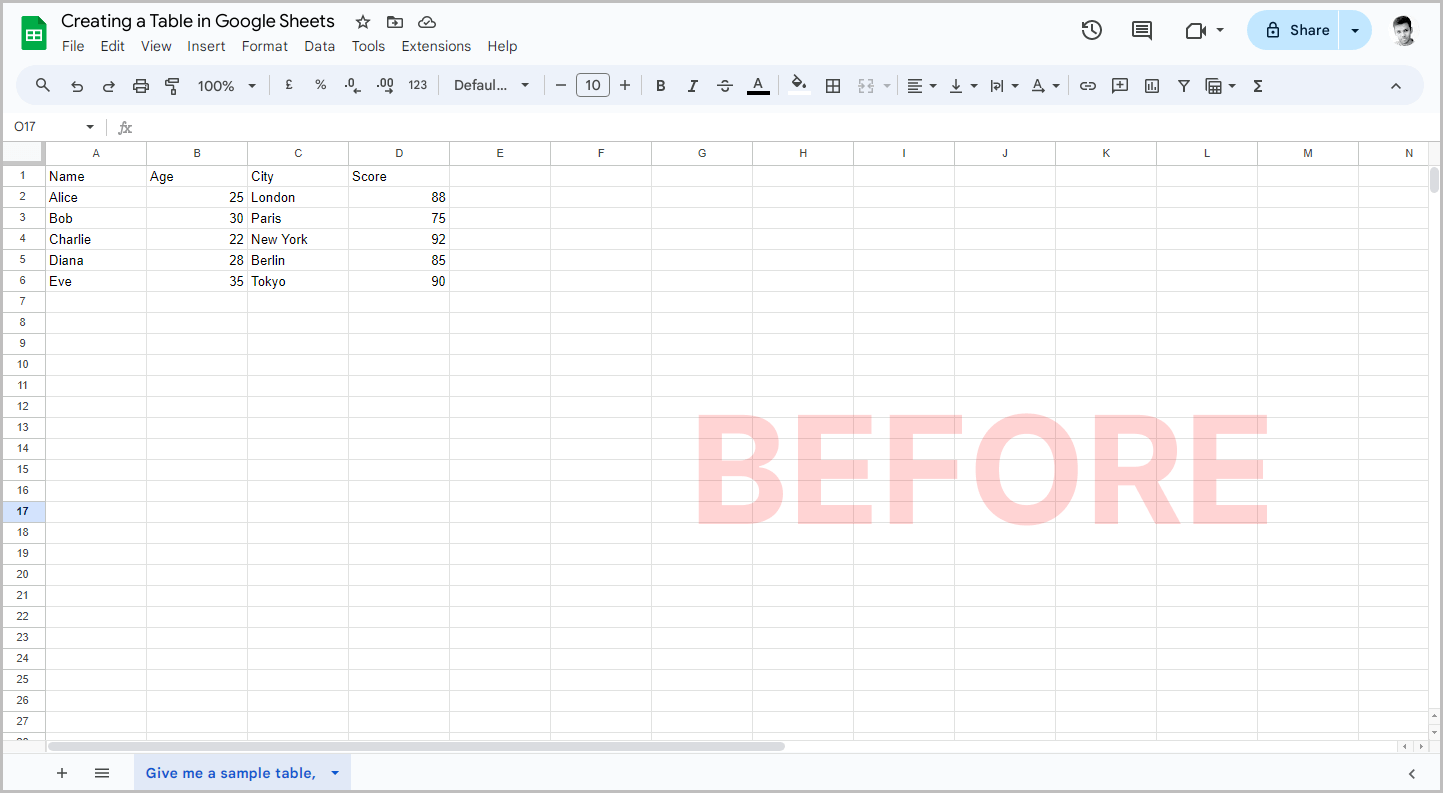
Step 1: Input the table data into your sheet.

The first step is to start by entering your table data.
For example, in the screenshot above, I have entered four columns: name, age, city, and score.
Under each column, I have entered five sample data points.
If you already have the data entered in your sheet, then you can skip this step.
Or if your data is in another document, you can simply copy and paste it into your sheet and then proceed to the next step.
Step 2: Highlight the data and choose the “Center align” option.

Now, use your mouse and highlight the data to select it.
Next, click on the “horizontal align” option from the toolbar, and then select “center align.”
This will center the data.
Do note that if the table is part of a formal document, then only the heading should be center-aligned and the data should be left-aligned.
Now proceed to the next step.
Step 3: Make the column headings bold.

After aligning the data, highlight just the headings of your table, and then click on the “Bold” option from the toolbar to make them bold.
Step 4: Select the table.

Your table is not ready, and in these four steps, we will be coloring the cells to make it look aesthetically pleasing.
To begin, select the table, including the heading.
Make sure you select the entire table; otherwise, the unselected part won’t be colored.
Step 5: Navigate to Format > Alternating Colors

After selecting the table, click on the “Format” option from the top menu, and then select the “Alternating Colors” option from the list of options as shown in the screenshot above.
Step 6: Choose a table style.

You will now see the “Alternating Colors” panel on the right side of your sheet.
Here you will see the default styles; choose the one you like.
You can also create a custom style; simply go to the “Custom styles” section and then choose a color of your choice for the headings and the rows.
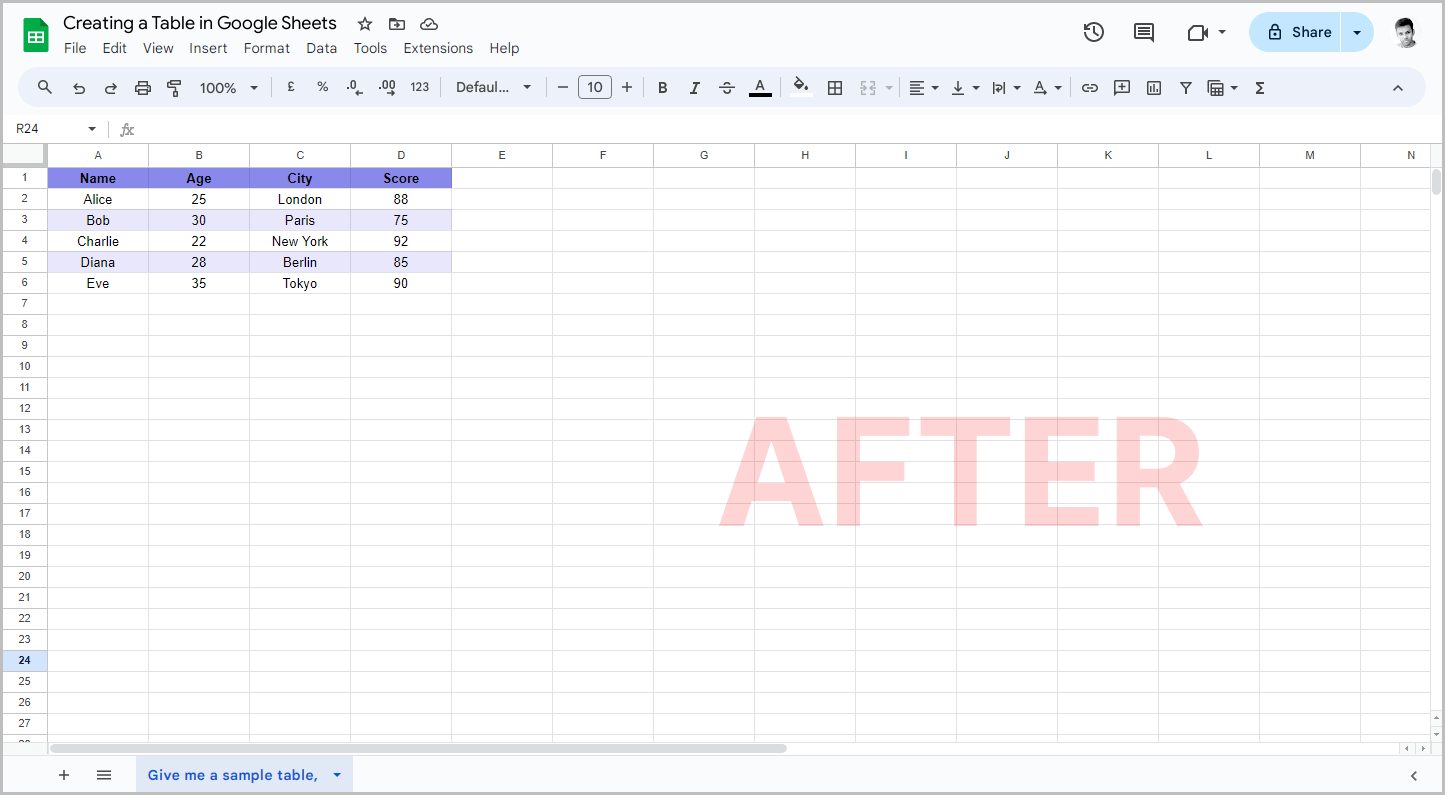
Step 7: Click “Done”

The final step is to click on the “Done” button on the “Alternating Colors” panel.
This will save your preferences and will also close the panel.
Your table is now ready!